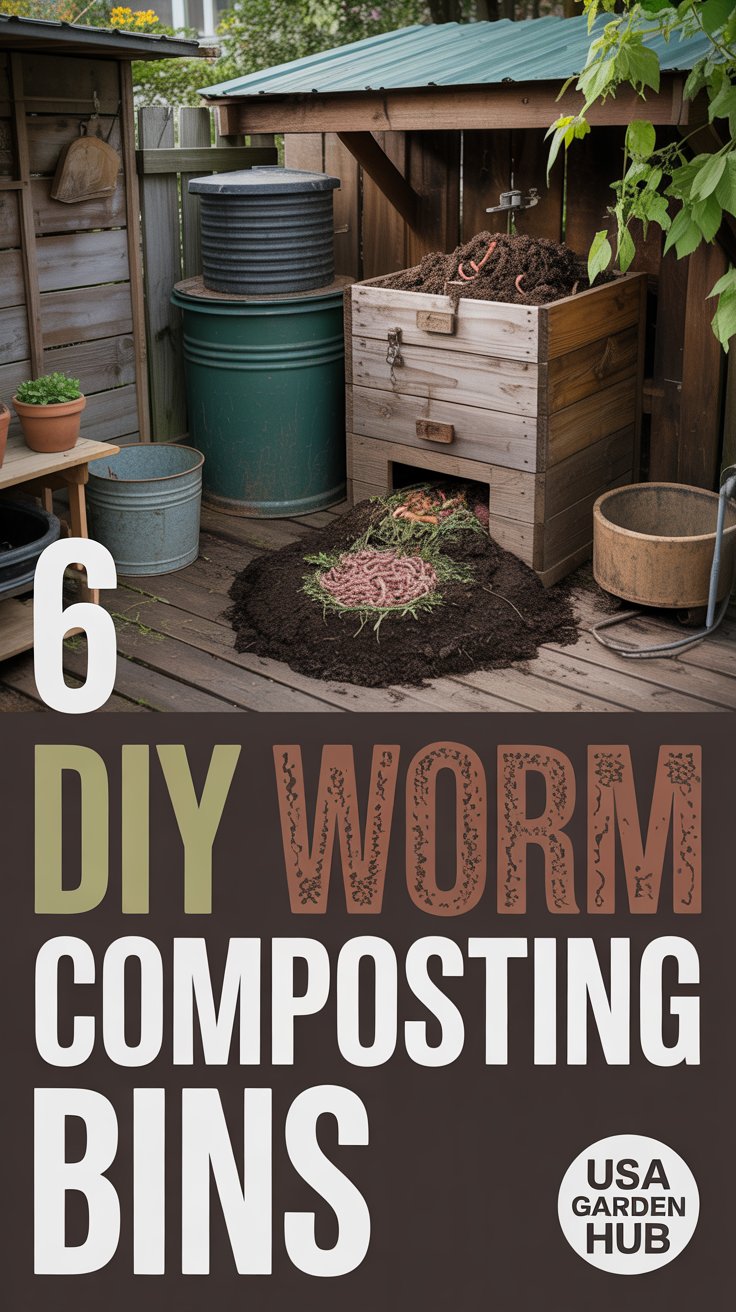
Discover 6 DIY worm composting bins that are perfect for beginners and experts alike. Learn how to make your own bin, reduce waste, and create nutrient-rich compost for your garden.
Hey there, fellow gardeners and eco-warriors! I’m Ashley Scott, and I’ve been gardening for over 10 years. If you’re like me, you’re always looking for ways to make your garden greener and more sustainable. That’s why I’m super excited to share this guide on 6 DIY Worm Composting Bins. Worm composting, or vermicomposting, is one of the best ways to turn kitchen scraps into nutrient-rich compost for your garden. Plus, it’s easy, fun, and you can do it yourself with materials you probably already have at home.
In this article, I’ll walk you through six different DIY worm composting bins that you can make, whether you’re a beginner or a seasoned composter. From the easiest worm bin ever to a diy stackable worm bin, I’ve got options for everyone. And don’t worry—I’ll keep it simple so even the kids can understand and help out!
What Is Worm Composting and Why Should You Try It?
Before we dive into the bins, let’s quickly cover what worm composting is. Worm composting, or vermicomposting, is a process where worms (usually red wigglers) break down organic waste like kitchen scraps, turning it into rich, dark compost called “worm castings.” These castings are like gold for your garden—they’re packed with nutrients that help plants grow strong and healthy.
Here are a few reasons why you should give worm composting a try:
- Eco-Friendly: It reduces the amount of waste going to landfills.
- Cost-Effective: You can make your own compost for free instead of buying it.
- Great for Gardens: Worm castings improve soil structure and fertility.
- Fun for the Family: Kids love watching worms do their magic!
Now, let’s get to the good stuff—how to make your own worm composting bin.
1. The Easiest Worm Bin Ever: A Simple Plastic Bin Setup
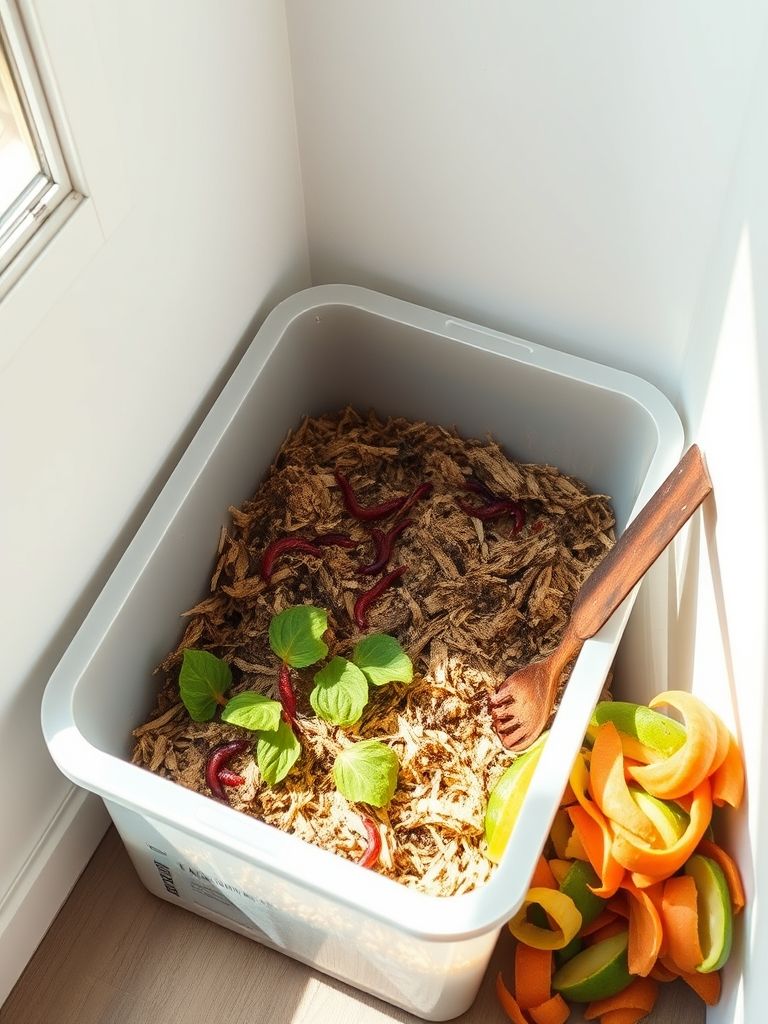
If you’re new to worm composting, this is the perfect place to start. The easiest worm bin ever is made from a simple plastic storage bin. It’s quick to set up, requires minimal materials, and works great for small spaces.
Materials Needed:
- 1 large plastic storage bin with a lid (18-20 gallons)
- A drill with a 1/4-inch bit
- Newspaper or cardboard
- A handful of soil
- Red wiggler worms (you can buy them online or from a local garden center)
Step-by-Step Instructions:
- Drill Holes: Drill small holes around the top of the bin for ventilation and a few at the bottom for drainage.
- Prepare Bedding: Shred newspaper or cardboard and soak it in water. Squeeze out the excess water and fluff it up in the bin.
- Add Soil and Worms: Mix in a handful of soil to introduce beneficial microbes, then add your worms.
- Feed Your Worms: Start with small amounts of kitchen scraps like fruit and veggie peels. Avoid meat, dairy, and oily foods.
Benefits:
- Super easy to make and maintain.
- Perfect for beginners or small households.
- Can be kept indoors or outdoors.
Pro Tip: Keep your bin in a cool, shaded area to keep your worms happy. If you’re looking for more tips on maintaining your worm bin, check out my article on How to Care for Your Worm Composting Bin.
2. DIY Worm Composting Bin with Wood: A Sturdy, Natural Option
If you prefer a more natural look or want something a bit sturdier, a diy worm composting bin wood is a great choice. Wood bins blend well with outdoor spaces and can be customized to fit your garden’s aesthetic.
Materials Needed:
- Untreated wood planks (cedar or pine work well)
- Screws and a drill
- A saw (if you need to cut the wood)
- Mesh screen for ventilation
- Newspaper or cardboard for bedding
- Red wiggler worms
Step-by-Step Instructions:
- Build the Frame: Cut the wood into four panels for the sides and one for the bottom. Screw them together to form a box.
- Add Ventilation: Cut a few small windows in the sides and cover them with mesh screen to allow airflow.
- Prepare Bedding: Just like the plastic bin, add shredded, moistened newspaper or cardboard.
- Introduce Worms: Add your worms and a bit of soil, then start feeding them kitchen scraps.
Benefits:
- More durable and aesthetically pleasing than plastic.
- Better insulation for outdoor use.
- Can be made larger for bigger composting needs.
Personal Story: I built my first wooden worm bin with my kids, and it was a blast! They loved helping with the construction and watching the worms move in. It’s still going strong in my backyard today.
3. DIY Worm Bin with Rubbermaid: Affordable and Convenient
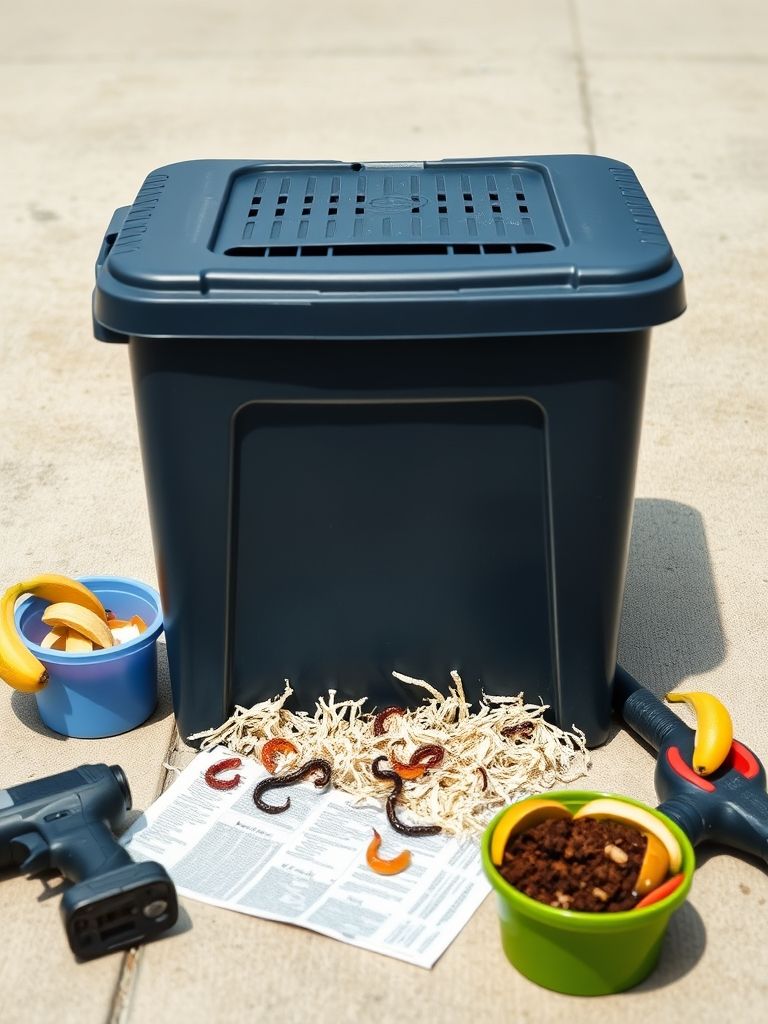
Rubbermaid bins are a popular choice for DIY worm composting bins because they’re affordable, durable, and come in various sizes. A diy worm bin rubbermaid is similar to the plastic bin setup but uses a specific brand that many people already have at home.
Materials Needed:
- 1 Rubbermaid storage bin with a lid (10-20 gallons)
- Drill with a 1/4-inch bit
- Shredded newspaper or cardboard
- Soil and red wiggler worms
Step-by-Step Instructions:
- Drill Holes: Drill ventilation holes around the top and drainage holes at the bottom.
- Set Up Bedding: Add moistened, shredded newspaper or cardboard.
- Add Worms: Introduce your worms and a bit of soil.
- Feed Regularly: Start with small amounts of food and increase as the worms multiply.
Benefits:
- Inexpensive and easy to find.
- Stackable if you want to expand your system.
- Great for indoor or outdoor use.
Did You Know? You can often find Rubbermaid bins on sale at big-box stores, making this an even more budget-friendly option. For more budget-friendly gardening tips, check out my post on Affordable Gardening Hacks.
4. Outdoor Worm Composting Bin: Perfect for Larger Gardens
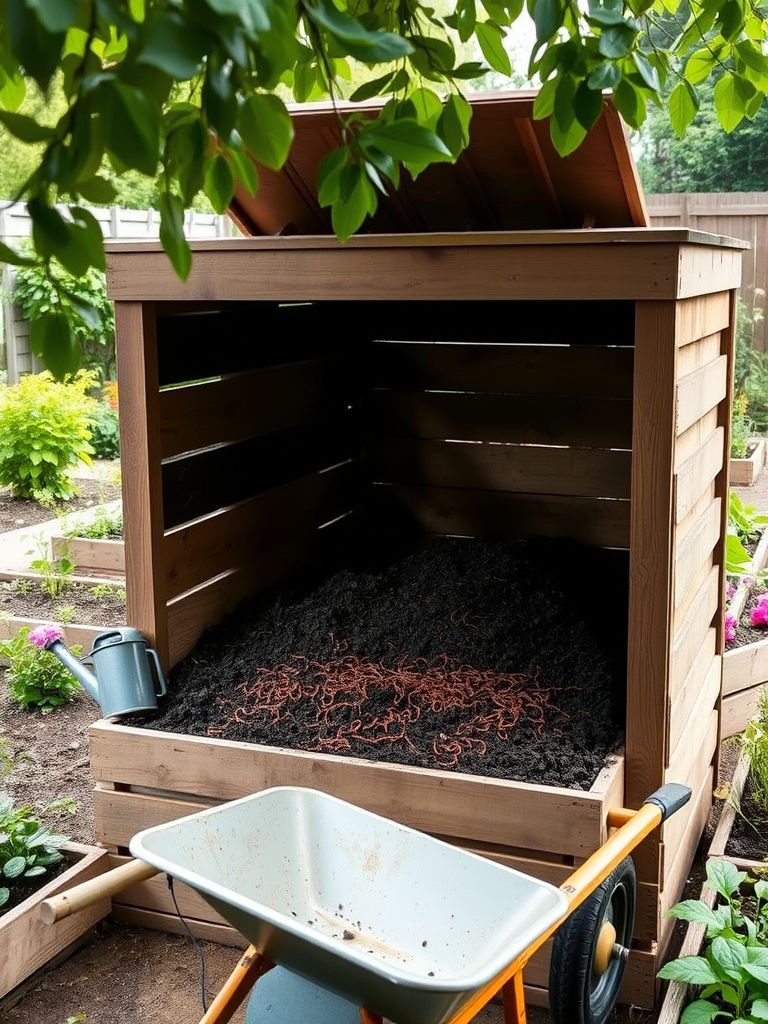
If you have a larger garden or want to compost more waste, an outdoor worm composting bin is the way to go. This setup is similar to the wooden bin but designed to handle more volume and withstand the elements.
Materials Needed:
- Wooden pallets or large wooden boards
- Screws and a drill
- Mesh screen for ventilation
- Bedding material (newspaper, cardboard, or straw)
- Red wiggler worms
Step-by-Step Instructions:
- Construct the Bin: Use wooden pallets or boards to build a larger bin, ideally 3x3 feet or bigger.
- Add Ventilation: Ensure there are gaps or mesh-covered windows for airflow.
- Prepare Bedding: Fill the bin with moistened bedding material.
- Add Worms and Food: Introduce your worms and start adding kitchen scraps.
Benefits:
- Handles larger amounts of waste.
- Blends well with outdoor garden spaces.
- Can double as a worm bed for fishing bait (more on that later!).
For more detailed plans on building an outdoor worm bin, check out this guide from Cornell University.
5. How to Make a Worm Farm for Free: Using Recycled Materials
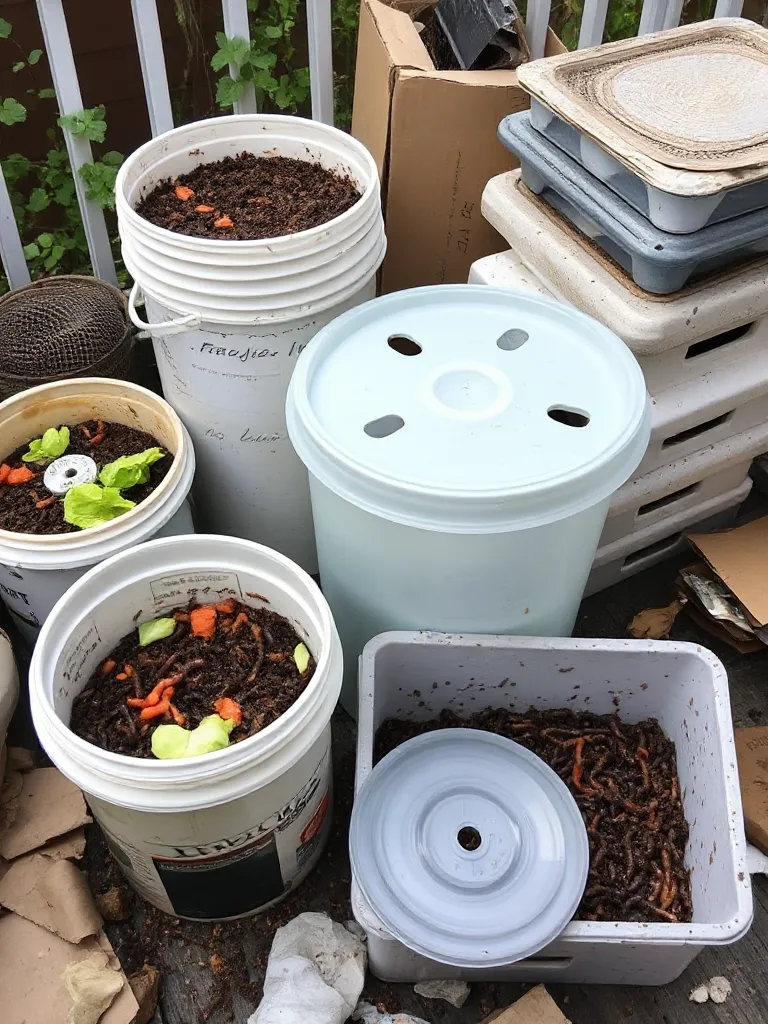
Who says composting has to be expensive? You can learn how to make a worm farm for free by using materials you already have or can find easily. This is a great option if you’re on a tight budget or just love upcycling.
Materials Needed:
- An old plastic storage bin, bucket, or even a wooden crate
- A drill or hammer and nail for making holes
- Old newspaper, cardboard, or leaves for bedding
- Red wiggler worms (you might need to buy these, but they’re worth it!)
Step-by-Step Instructions:
- Prepare the Container: If using a plastic bin, drill holes for ventilation and drainage. If using wood, ensure there are gaps for airflow.
- Create Bedding: Use shredded newspaper, cardboard, or dry leaves, moistened and fluffed up.
- Add Worms: Introduce your worms and a bit of soil.
- Feed Your Worms: Start with small amounts of kitchen scraps.
Benefits:
- Costs next to nothing.
- Reduces waste by repurposing old materials.
- Teaches kids about sustainability and resourcefulness.
Pro Tip: If you don’t have a bin, you can even use an old bathtub or a large wooden box. Get creative!
6. DIY Stackable Worm Bin: Expandable and Efficient

For those who want a more advanced system, a diy stackable worm bin is a fantastic option. This setup allows you to add more trays as your composting needs grow, making it perfect for larger households or avid gardeners.
Materials Needed:
- 3-4 plastic storage bins (same size)
- Drill with a 1/4-inch bit
- Mesh screen or landscape fabric
- Bedding material and red wiggler worms
Step-by-Step Instructions:
- Prepare the Bins: Drill holes in the bottom of all but one bin (the bottom bin will catch liquid).
- Set Up the First Bin: Place the bottom bin on the ground, then stack another bin on top with holes in the bottom.
- Add Bedding and Worms: Fill the top bin with moistened bedding and worms.
- Feed and Stack: As the worms process the food, add another bin on top with fresh bedding and food. The worms will migrate upward.
Benefits:
- Expandable as your composting needs grow.
- Efficient use of space.
- Easy to harvest compost without disturbing the worms.
For a detailed guide on building a stackable worm bin, visit The Spruce.
Bonus: How to Make a Worm Bed for Fishing Bait
If you’re an angler or just want to raise worms for fishing, a worm bed for fishing bait is a great addition to your garden. It’s similar to a worm composting bin but optimized for producing lots of healthy worms.
Materials Needed:
- A large wooden box or an old bathtub
- Soil, compost, and bedding material
- Red wiggler or European nightcrawler worms
Step-by-Step Instructions:
- Prepare the Bed: Fill the box or bathtub with a mix of soil, compost, and bedding.
- Add Worms: Introduce your worms and keep the bed moist.
- Feed Regularly: Feed the worms with kitchen scraps or compost to keep them healthy and multiplying.
Benefits:
- Provides a steady supply of fishing bait.
- Doubles as a composting system.
- Fun project for kids who love fishing.
Personal Story: My grandfather taught me how to make a worm bed when I was a kid, and it’s a memory I cherish. Now, I’m passing that tradition on to my own children.
Conclusion: Start Your Worm Composting Journey Today!
There you have it—6 DIY Worm Composting Bins that you can make at home, no matter your skill level or budget. Whether you choose the easiest worm bin ever or go for a diy stackable worm bin, you’re taking a big step toward a greener, more sustainable lifestyle. Plus, it’s a fantastic way to teach kids about the environment and the magic of nature.
Remember, worm composting is not just about reducing waste; it’s about creating something valuable for your garden and having fun while doing it. So, grab your materials, get your hands a little dirty, and start composting with worms today!
For more gardening tips and tricks, be sure to visit my website, USA Garden Hub. Happy composting!