Learn how to propagate a Monstera in 6 easy steps. I share my proven method, common mistakes to avoid, and tips for healthy root growth.

I am Ashley Scott, and I have been gardening for 10 years. One of the plants I love the most is Monstera. It looks bold, it grows fast, and it is easy to multiply. Over time, I have propagated Monsteras in different ways. Some methods failed at first, but with practice, I found a routine that works every time.
If you want to grow more Monsteras without buying new plants, propagation is the way. In this guide, I will show you the exact six steps I follow to propagate a Monstera successfully.
Why Propagate a Monstera?
Propagation saves money. Instead of buying a new plant, you take a cutting and grow it into a full Monstera. It also helps if your plant grows too large. By trimming and propagating, you control size while creating new plants.
Monsteras are also popular as gifts. I have shared many with friends who admired my big plant at home. A cutting rooted in water makes a thoughtful present.
If you are into indoor gardening, learning to propagate Monsteras gives you confidence to try other houseplants. The University of Vermont Extension has helpful resources on houseplant propagation if you want more background.
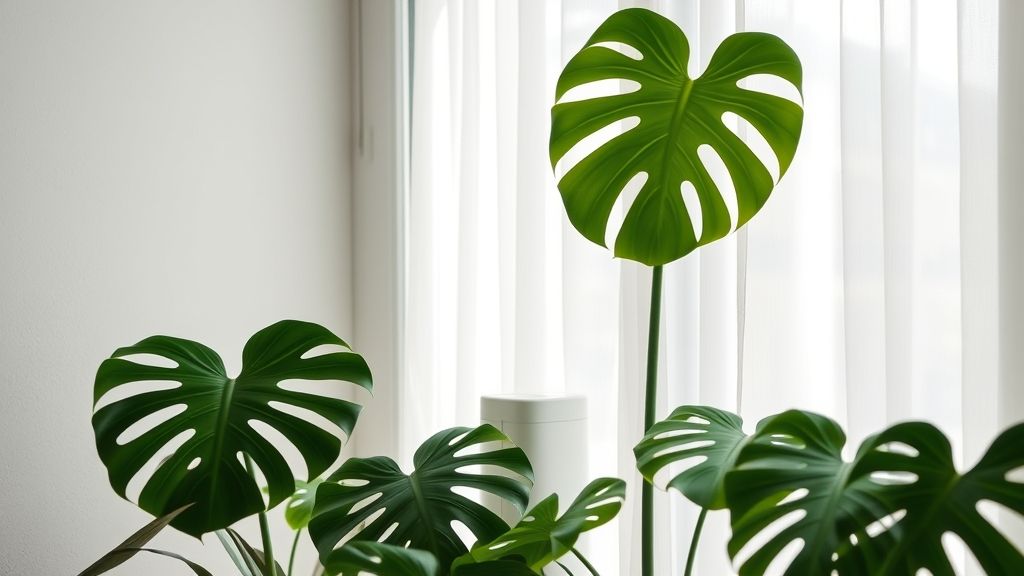
Step 1: Choose a Healthy Parent Plant
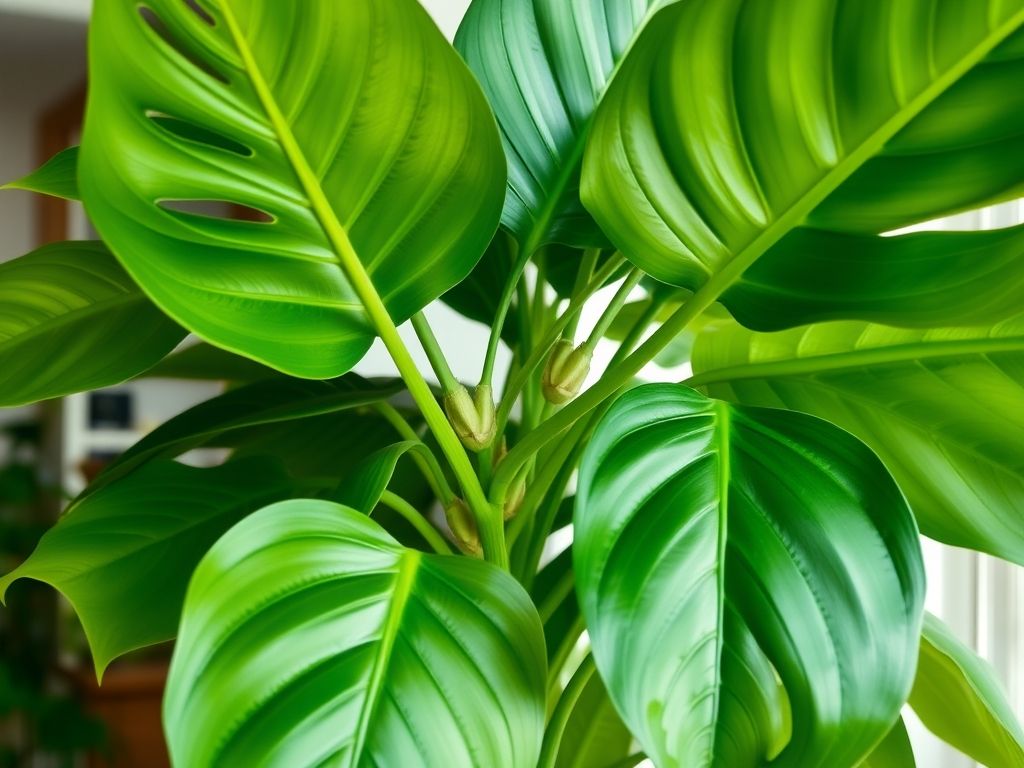
The first step is choosing the right parent plant. A weak or sick plant will not give strong cuttings. I always check for these signs before cutting:
- Large, glossy leaves with no spots.
- No yellowing or drooping.
- Thick, green stems with visible nodes.
Nodes are key. They are the small bumps on the stem where roots grow. If your Monstera is healthy, you will find nodes at almost every leaf joint. For plant health checks, I often reference Missouri Botanical Garden’s Monstera guide.
Step 2: Find and Cut Below a Node
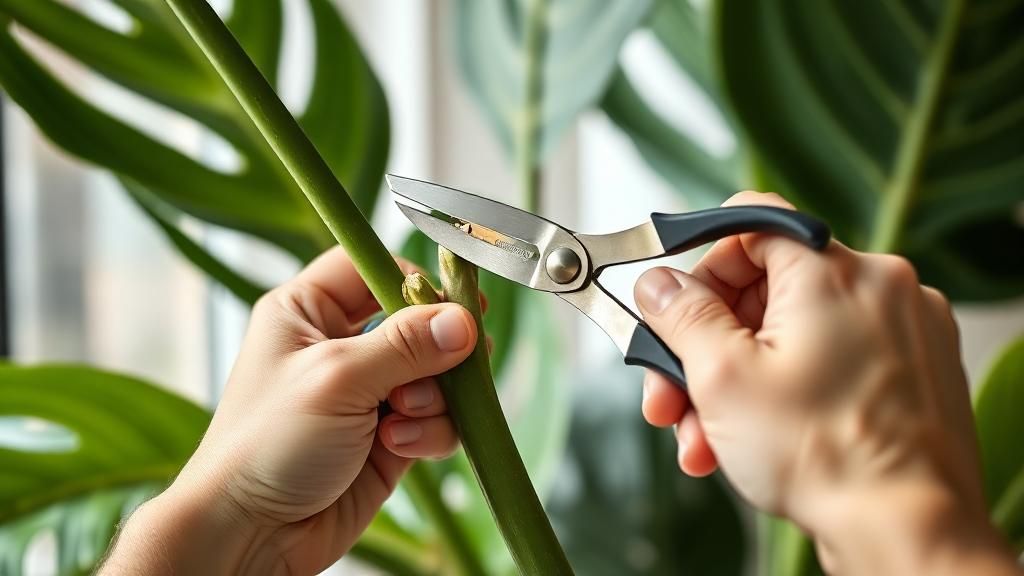
A node is where the magic happens. Without it, a cutting will not root. I run my fingers along the stem until I see a small bump or an aerial root. I cut one inch below that spot.
I usually take a cutting that has one or two leaves. A single-leaf cutting works too, as long as it has a node.
This is one of the most common propagation mistakes beginners make. They cut above the node, and that will never root. If you want to learn about other pitfalls, I wrote a full guide on 8 Mistakes to Avoid During Propagation.
Step 3: Use Clean Tools
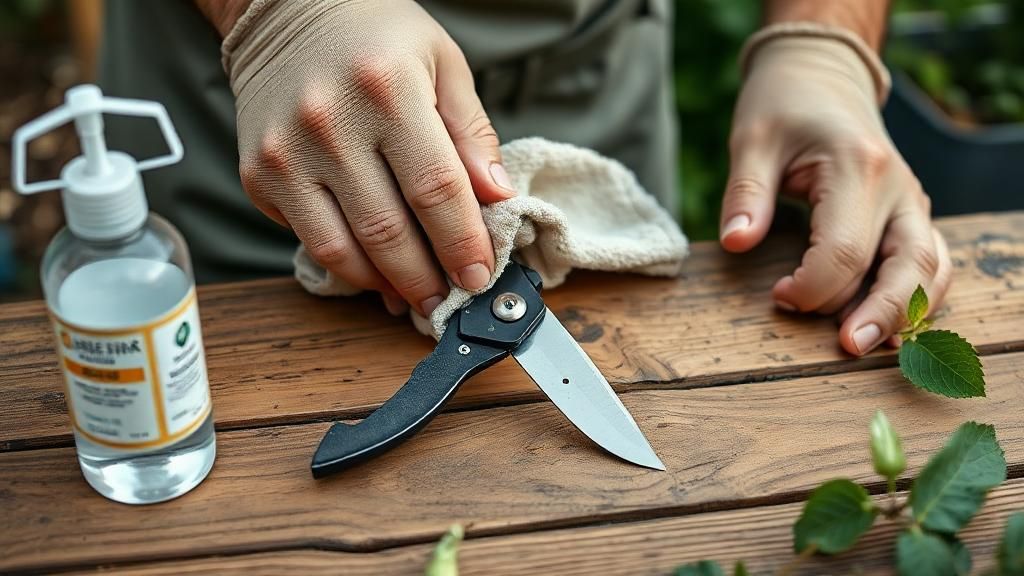
I clean my scissors or pruners with rubbing alcohol every time before cutting. This prevents disease. Dirty tools can spread fungus or bacteria that stop the cutting from growing.
When I was new to gardening, I once skipped this step. The cutting rotted in a few days. Since then, I never risk it.
For Monsteras, I like using sharp pruning shears because the stems are thick. A clean, quick cut gives the best chance for healthy growth. The Royal Horticultural Society also recommends sterilizing tools before propagation.
Step 4: Place in Water or Soil
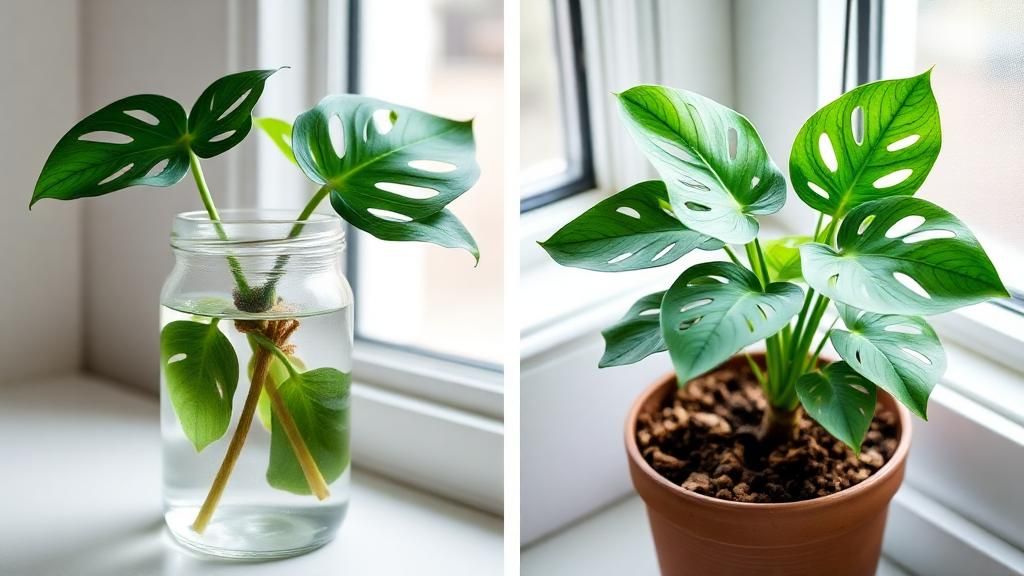
After cutting, you have two choices: water or soil.
- Water method: I place the cutting in a clear glass jar filled with room-temperature water. This is my favorite method because I can see the roots forming. I change the water once a week.
- Soil method: Sometimes I plant the cutting directly in soil. This gives stronger roots from the start, but I cannot see them. I use a mix of peat, perlite, and orchid bark for good drainage.
Both methods work. If you want fast results and like to watch the process, go with water. If you want the cutting to adjust quicker to pot life, start in soil. For more soil prep ideas, you can read my article on Rainy Season Gardening Techniques.
Step 5: Provide the Right Light and Humidity
Monsteras love bright, indirect light. I keep my cuttings near a south-facing window with a thin curtain. Direct midday sun can burn the leaves.
Humidity is also important. High humidity helps roots form faster. I sometimes cover my cuttings with a clear plastic dome or a large zip bag to hold moisture. I make sure the leaves do not touch the plastic to prevent rot.
If you live in a dry area, a small humidifier near your plants makes a big difference. The University of Florida Extension has helpful tips on indoor humidity for tropical plants.
Step 6: Transplant When Roots Are Ready
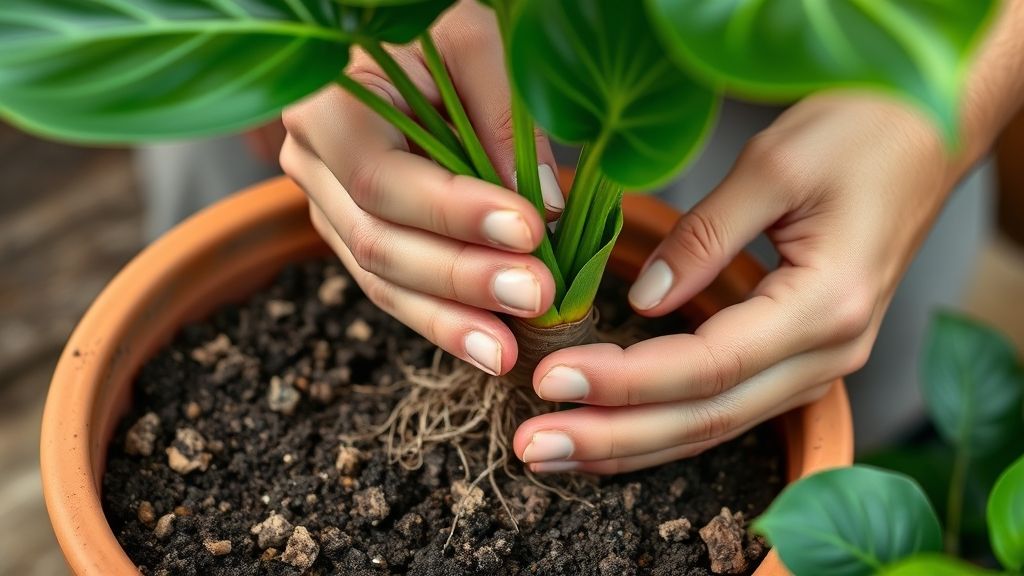
In water, I wait until the roots are 2 to 3 inches long before transplanting. In soil, I gently tug on the cutting after a month. If I feel resistance, roots are there.
For transplanting, I use a pot with drainage holes and fill it with chunky Monstera soil mix. I plant the cutting, press the soil lightly around the roots, and water gently.
The first few weeks are sensitive. I keep the soil slightly moist but not soggy. Overwatering is one of the biggest risks for young Monsteras. The NC State Extension warns that soggy soil can quickly lead to root rot.
My Extra Monstera Propagation Tips
From my years of trial and error, here are tips that always help:
- Use rooting hormone if you want faster root growth.
- Keep cuttings in a stable room temperature between 65 and 80°F.
- Never let water sit unchanged for more than a week.
- Be patient. Roots can take 3 to 5 weeks to grow strong.
Common Questions About Monstera Propagation
Q1: Can I propagate Monstera from a leaf cutting only? No. You need a stem with at least one node. A leaf alone will not root.
Q2: How long does it take for Monstera cuttings to root? For me, it usually takes 3 to 4 weeks in water. Sometimes it takes longer in soil.
Q3: Should I use water or soil for propagation? Both work. Water lets you see roots. Soil gives stronger root systems from the start.
Q4: When is the best time to propagate a Monstera? I get the best results in spring and summer when growth is active.