Discover how to grow Black-Eyed Susans with simple care tips from Ashley Scott, a 10-year gardening pro. Perfect for USA gardens and pollinators!

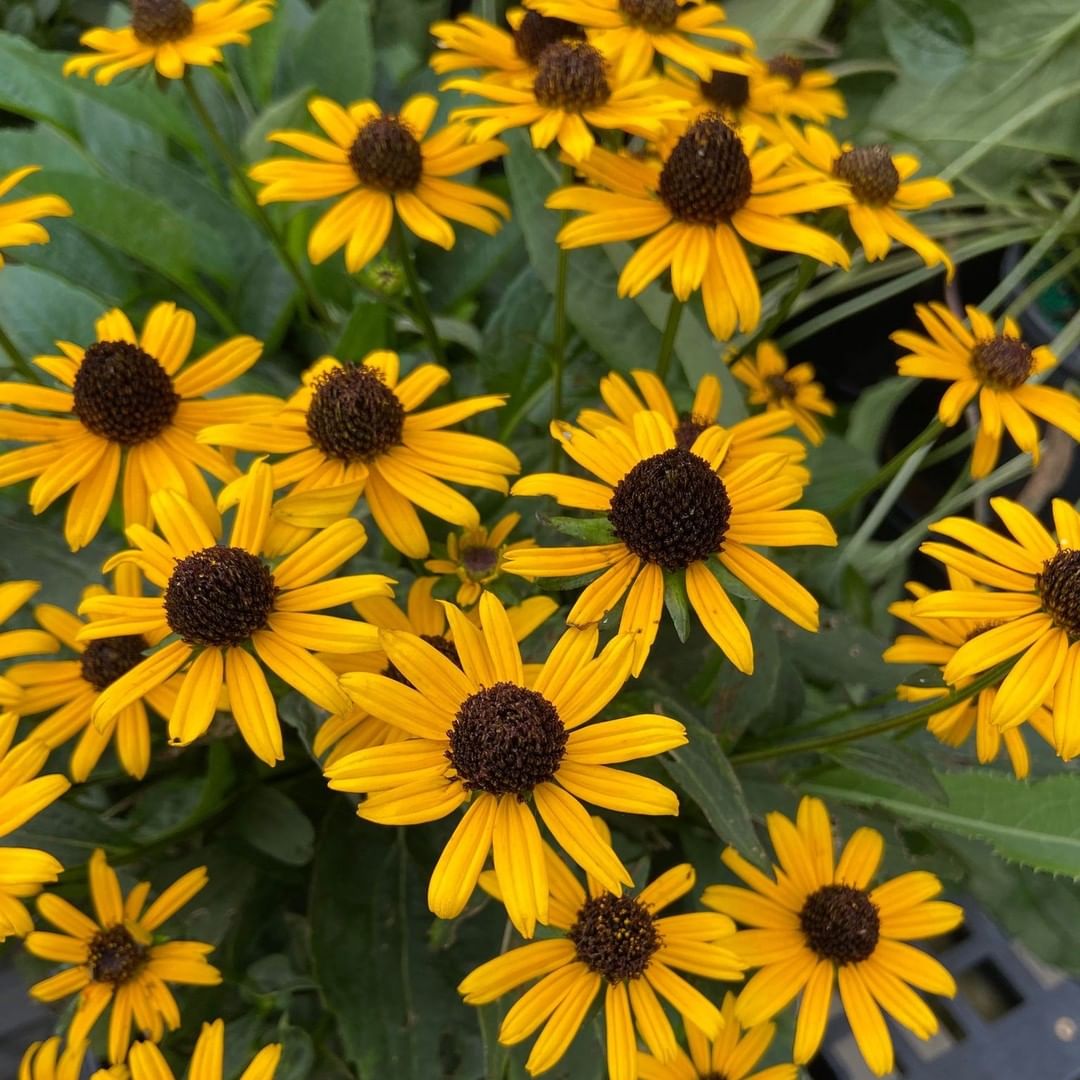
Hey there, plant lovers! I’m Ashley Scott, a gardening enthusiast with 10 years of experience growing vibrant blooms in my USA backyard. One of my all-time favorites is Black-Eyed Susans (Rudbeckia hirta), a cheerful, daisy-like flower that brings sunny vibes to any garden. With their bright yellow petals and dark brown centers, they’re a staple in American landscapes, native to North America, and super easy to grow. They bloom from summer to fall, attracting bees and butterflies, and are perfect for beginners or anyone wanting low-maintenance beauty. Below is ready-to-publish content with simple care tips, my personal stories, links to trusted resources, and ties to projects like succulent propagation or DIY compost bins (check out my guides at USA Garden Hub). Let’s dive into the world of Black-Eyed Susans!
Why Grow Black-Eyed Susans?
Black-Eyed Susans are a go-to for USA gardeners because they’re tough, colorful, and bloom for months. They thrive in USDA Zones 3-9, making them versatile for most climates, from sunny prairies to urban patios. These perennials (sometimes annuals, depending on the variety) grow 1-3 feet tall, spread 1-2 feet, and are pollinator magnets, fitting perfectly with my 8 blooming plants that bees love. They symbolize encouragement and joy, making them a great gift or garden pick-me-up. Plus, they’re low-effort, much like growing microgreens at home or propagating succulents.
Care Tips for Black-Eyed Susans
Here’s how to keep your Black-Eyed Susans thriving, based on my own garden wins and lessons learned.
Light
Black-Eyed Susans love full sun—6+ hours daily is ideal for vibrant blooms. They can handle partial shade but may produce fewer flowers. Missouri Botanical Garden
- My Tip: My first patch was in a shady corner, and blooms were sparse. Moving them to a sunny spot near my patio doubled the flowers!
- City Tip: Perfect for balcony pots where sun hits hard—pair with native ornamental grasses for texture.
Water
Water regularly (about 1 inch per week) during the first year to establish roots. Once established, they’re drought-tolerant and only need water during dry spells. The Spruce
- My Tip: I overwatered my young plants once, causing soggy roots. Now I check if the top inch of soil is dry before watering.
- Fun Fact: Their drought tolerance makes them easier than indoor hibiscus—less fuss!
Soil and Planting
Plant in well-drained, average soil—loamy or slightly clayey works fine. They’re not picky about soil pH (6.0-7.0 is great). Sow seeds in spring or fall, or plant nursery starts for faster results. University of Minnesota Extension
- My Tip: I mix in compost from my DIY compost bin to boost growth—plant 18 inches apart for air flow.
- City Tip: Use 12-inch pots for urban gardens; they spread nicely without crowding.
Temperature and Humidity
Black-Eyed Susans handle heat and humidity well, thriving at 60-80°F. They’re cold-hardy but may need mulch in harsh winters (Zones 3-4). Gardening Know How
- My Tip: In my Zone 7 garden, I mulch with straw in late fall to protect roots—works like a charm!
- Fun Fact: They bloom even in humid summers, unlike fussy cyclamen.
Fertilizer
Go light—use a balanced fertilizer (10-10-10) once in spring. Too much feeding leads to leafy growth, not flowers. Missouri Botanical Garden
- My Tip: I skip fertilizer some years and rely on compost—keeps blooms bright without overgrowth.
Pruning and Maintenance
Deadhead spent blooms to extend flowering into fall. Cut back to 2 inches in late fall or early spring for perennials. Divide clumps every 3-4 years to prevent overcrowding. The Spruce
- My Tip: Deadheading my plants weekly keeps them blooming until October—pair with spooky plants like Black Mondo Grass for a fall vibe.
- City Tip: Trim lightly for tidy container displays.
Propagation: Grow More Black-Eyed Susans
You can propagate by seeds or division, similar to succulent propagation from stem.
- Seeds: Sow in spring or fall, barely covering with soil. Germinate in 1-3 weeks at 70°F. University of Minnesota Extension
- Division: Dig up clumps in spring, split with a sharp knife, and replant 18 inches apart.
- My Tip: I started with seeds, but dividing mature plants gave me instant new patches—super easy!
Common Problems and Fixes
- Powdery Mildew: White coating on leaves from poor air flow—space plants and avoid overhead watering. Gardening Know How
- Aphids: Spray with soapy water, like my 10 ways to get rid of ants in the garden.
- My Story: My first Susans got mildew in a tight spot—moving them to a breezier area fixed it!
Why Black-Eyed Susans Shine in Your Garden
These flowers are a must for USA gardens—easy, bold, and pollinator-friendly. They’re perfect for borders, meadows, or pots, and their long bloom time (June to September) makes them a summer star. Pair them with coreopsis flower or spooky plants for a Halloween garden for seasonal flair. They’re also great for cutting, lasting up to 10 days in a vase, and their seeds feed birds in winter. For more native plant ideas, check USDA Forest Service.
Wrapping Up
Black-Eyed Susans bring sunshine and toughness to any garden, from rural yards to city balconies. My patch near the patio is a bee magnet and a joy every summer. Whether you’re a beginner or a pro, these flowers deliver big with little effort. What’s your favorite way to use Black-Eyed Susans? Share your garden stories in the comments on USA Garden Hub!