As a gardener with 10 years experience, I share how to test and amend soil in fall for USDA zones 6-8. Get practical advice on pH testing, labs, and fixes for better results.
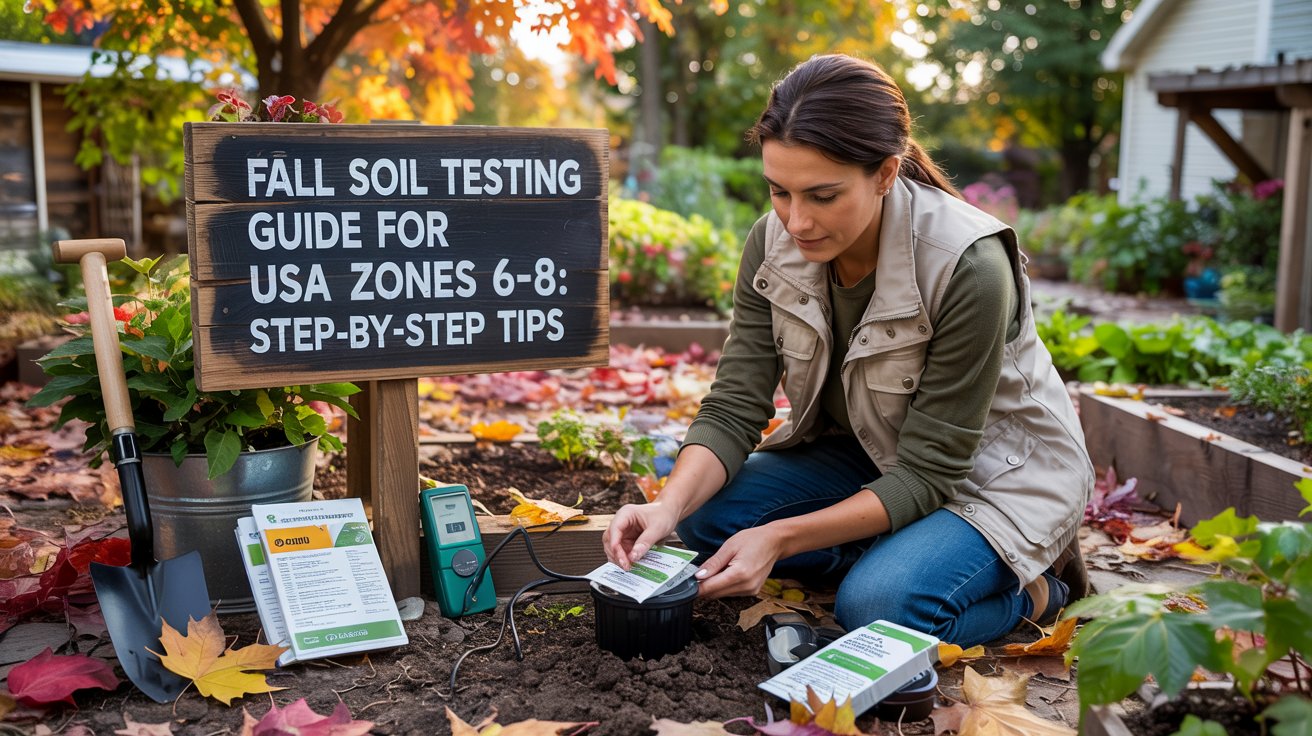
As a gardener in zone 7, I test my soil every fall. This practice has transformed my vegetable beds and flower gardens. In USDA zones 6-8, fall offers the perfect window to assess your soil before winter sets in. You get time to make changes that benefit spring planting. In this guide, I cover why you should test now, how to do it, and what steps to take next. I draw from my own trials and reliable sources to keep things straightforward.
Why Test Your Soil in Fall for Zones 6-8?
Fall soil testing gives you key insights into pH, nutrients, and fertility. In zones 6-8, which span from parts of the Midwest to the Southeast, soils often lean acidic due to rainfall and organic matter. Testing reveals if your pH sits between 6.0 and 6.5, the sweet spot for most plants.
You benefit from fall testing because it allows amendments to work over winter. For example, lime takes 6 to 12 months to adjust pH fully. Apply it in fall, and your soil stabilizes by spring. Data from extension services shows that proper testing prevents overfertilization, which reduces runoff and saves you money. In my garden, I once skipped a fall test and faced nutrient lockout in tomatoes the next year. Now, I test annually to avoid that.
Zones 6-8 experience first frosts from mid-October to early November. This timing lets you sample after harvest but before ground freeze. Test every 2 to 3 years for sandy soils or 3 to 4 years for clay. If levels run high or low, check yearly.
What You Need for Soil Testing
Gather simple tools to start. You need a clean trowel or soil probe, plastic buckets, and sample bags. Avoid metal tools like brass to prevent contamination. For home tests, pick up pH strips or a kit from a garden store.
For professional analysis, contact a lab. Costs range from $11 to $30 per sample, plus shipping. I use kits that measure pH, phosphorus, potassium, and more. If you handle large areas, consider a soil corer for even sampling.
Check out our recommendations for best garden tools to make sampling easier.
How to Collect Soil Samples
Collect samples correctly for accurate results. Start by clearing debris from the surface. Dig to 4 inches for lawns, 6 to 8 inches for gardens, or 6 to 10 inches for trees.
Take 6 to 8 subsamples from different spots in one area. Mix them in a clean bucket to form a composite sample. Remove roots or rocks. Sample separate areas for different plants, like veggies versus flowers.
Do this when soil feels slightly damp, not wet. Avoid spots near compost or recent fertilizer. For fields, test every 20 acres. I label my samples by garden section to track changes over time.
Mail samples to a lab in paper bags. Or test at home right away. For full details on sampling, see this USDA guide on soil testing.
How to Test Soil pH with Strips
You can test pH at home with strips for quick results. First, dig a sample 4 to 6 inches deep. Mix a handful with distilled water to form a slurry. Let it settle for a few minutes.
Dip the strip into the liquid for the time specified, usually 60 seconds. Compare the color to the chart on the package. Most strips measure from 3.5 to 9.0.
For accuracy, take multiple tests and average them. I find strips handy for spot checks, but I confirm with lab results for big decisions. If your pH reads below 6.0, add lime; above 7.0, consider sulfur.
Learn more about organic fertilizers that help balance pH.
Follow this step-by-step soil pH slurry test.
Who Does Soil Testing in the USA?
Many labs and services handle soil testing across the USA. University extension labs offer affordable, reliable options. For example, Rutgers Soil Testing Laboratory serves New Jersey and beyond. They test for pH, nutrients, and provide recommendations.
Private labs like Waypoint Analytical deliver fast results with quality control. AgSource Laboratories focuses on agronomic tests. Cornell Soil Health Laboratory assesses overall soil health.
Your local NRCS office can guide you to nearby services. I send samples to my state extension lab each year. Find a lab near you via this state-by-state list.
Interpreting Your Soil Test Results
Results show pH, nutrient levels, and more. Look at pH first: aim for 6.0 to 6.5. Low pH ties up nutrients; high pH limits trace elements like iron.
Nutrient indexes rate phosphorus and potassium. Below 25 means low; 26 to 50 is medium; above 50 is high. No need to add if high. Cation exchange capacity indicates nutrient holding power; higher is better with clay or organic matter.
Base saturation should hit 70 to 90 percent on limed soils. Check for imbalances, like low magnesium, which calls for dolomitic lime. Nitrogen often skips routine tests due to its mobility.
I review my reports with extension guidelines. For a deep dive, read A Gardener’s Guide to Soil Testing.
Amending Your Soil Based on Test Results
Act on results to improve your soil. If pH drops below target, apply lime at rates like 50 pounds per 1,000 square feet. Use calcitic lime for high-magnesium soils or dolomitic for low.
For low phosphorus, add a fertilizer like 0-46-0. Potassium shortages? Try 0-0-60. Incorporate amendments 6 inches deep for best effect.
In fall, nutrients settle over winter, reducing spring losses. I spread compost to boost organic matter, which raises CEC. For sodium issues, use gypsum to leach it out without changing pH.
Explore our composting guide for natural amendments.
Common Soil Issues in Zones 6-8
In these zones, acidic soils prevail from heavy rains. You might see iron deficiency in plants like azaleas, causing yellow leaves. Clay soils compact easily, leading to poor drainage.
Phosphorus often builds up from overfertilizing, harming waterways. Test to avoid this. Sandy soils in coastal areas lose nutrients fast, so frequent testing helps.
I deal with clay in my yard by adding organic matter each fall. This improves structure and prevents winter heaving.
For zone-specific plants, see our 11 Vegetables to Plant in November.
My Personal Experience with Fall Soil Testing
A few years back, my zone 7 garden struggled with stunted peppers. I tested in fall and found pH at 5.2, too low. I added 40 pounds of lime per 1,000 square feet and tilled it in. By spring, pH hit 6.3, and yields doubled.
Another time, high phosphorus showed up. I switched to nitrogen-only fertilizers and saw healthier roots. These steps saved me time and boosted my harvest. You can achieve the same with consistent testing.
For more tips, link to our soil amendments page.
Testing your soil in fall sets you up for success. Start today, and watch your garden thrive next season.