Learn to grow microgreens at home with this easy guide from Ashley Scott, a 10-year gardening pro. Perfect for small spaces in the USA!
Hey there, gardening friends! I’m Ashley Scott, and I’ve been growing plants for 10 years in my small city backyard in the USA. One of my favorite things to do is grow microgreens at home. These tiny greens are super healthy, taste great, and grow fast, even in small spaces like apartments or patios. They’re perfect for salads, sandwiches, or smoothies, and they’re easier than growing big vegetables. Plus, they fit right in with projects like succulent propagation or DIY compost bins (check my posts on those at USA Garden Hub). In this simple step-by-step guide to growing microgreens at home, I’ll show you how to start, grow, and harvest them with tips from my own experience. Let’s get started!
Why Grow Microgreens at Home?
Microgreens are baby plants you eat just 7-21 days after they sprout. They’re full of vitamins (way more than grown-up plants!) and don’t need much space. I started growing them on my kitchen counter because I wanted fresh greens all year without a big garden. They’re cheap (seeds cost almost nothing) and fun to try, like spicy radish or sweet pea shoots. This guide is for anyone in the USA, but all you need is a small spot, like a windowsill.
Step-by-Step Guide to Growing Microgreens at Home
Here’s an easy way to grow microgreens at home, based on what works in my small space. I’ll list what you need, steps to follow, and tips for city gardeners. I’ll also connect it to fun projects like propagating succulents in soil.
Step 1: Get Your Supplies
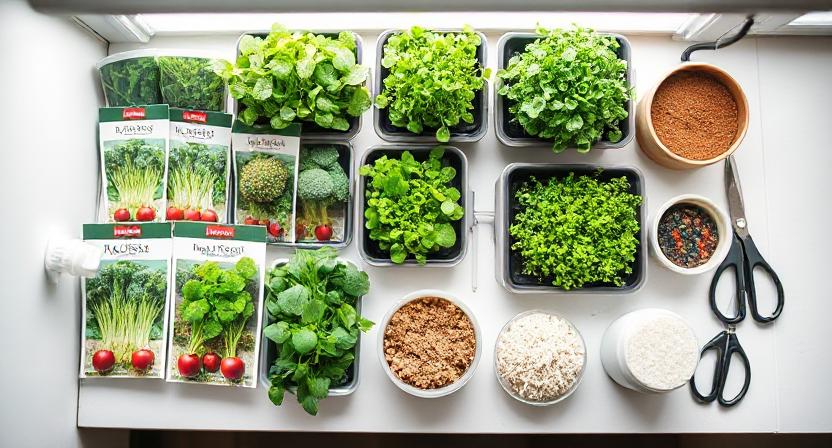
You don’t need expensive stuff. Most of this is already at home!
- What You Need:
Seeds: Try radish, broccoli, kale, arugula, or pea shoots (I love their taste). Buy from a good place like Johnny’s Selected Seeds.
- Container: Use shallow trays (like 10x20 inches for starting seeds) or old food containers. I use pie tins with holes poked in the bottom.
- Soil: Potting soil, coconut coir, or burlap (like succulent propagation trays).
- Spray Bottle: To mist water.
- Light: A sunny windowsill or a grow light (cheap ones are listed at Cornell’s gardening site).
- Scissors: For cutting greens.
- Cost: About $10-20 to start (seeds work for many batches).
- City Tip: Use old containers to save space and money, like my DIY compost bin ideas (see USA Garden Hub).
Step 2: Set Up Your Tray
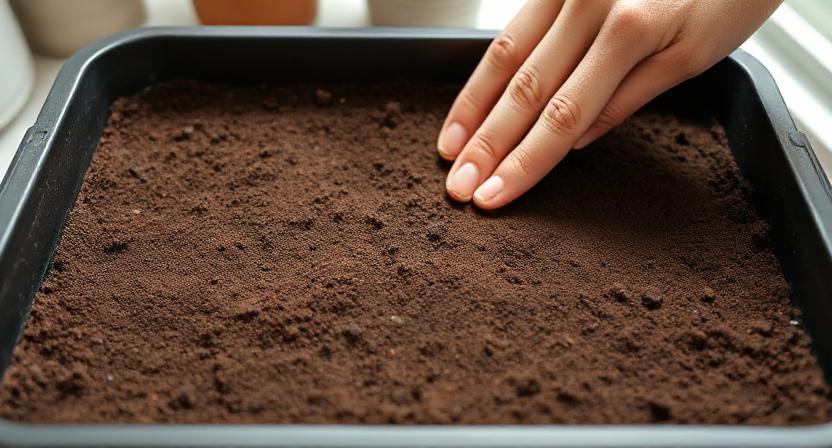
A clean tray keeps your microgreens healthy and stops mold.
- Steps:
Wash your tray with soap and water to kill germs.
- Add 1-2 inches of damp soil or coir. Smooth it out with your hand.
- If using old containers, poke 4-5 tiny holes in the bottom so water can drain.
- My Tip: I once used too much water, and my greens got moldy. Keep soil damp, not wet, like when propagating succulent leaves in water.
- Time: 10 minutes.
Step 3: Plant the Seeds
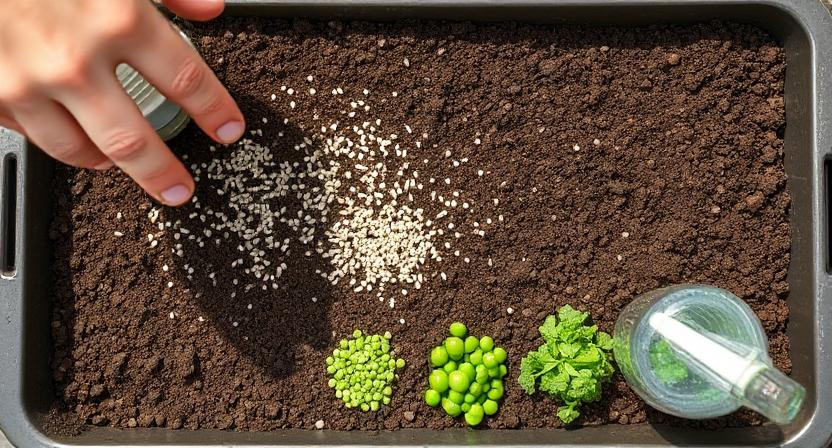
Spread seeds thickly for lots of greens.
- Steps:
Sprinkle seeds evenly on the soil (1-2 teaspoons for a 10x10 inch tray—radish needs less, peas need more).
- Press them lightly with your fingers so they touch the soil.
- Mist with water to settle them.
- City Tip: Mix seeds like kale and arugula for fun colors and tastes. It’s great for small spaces.
- My Tip: I put too many seeds in my first tray, and they didn’t grow well. Use fewer for tiny seeds like broccoli.
Step 4: Cover for Sprouting
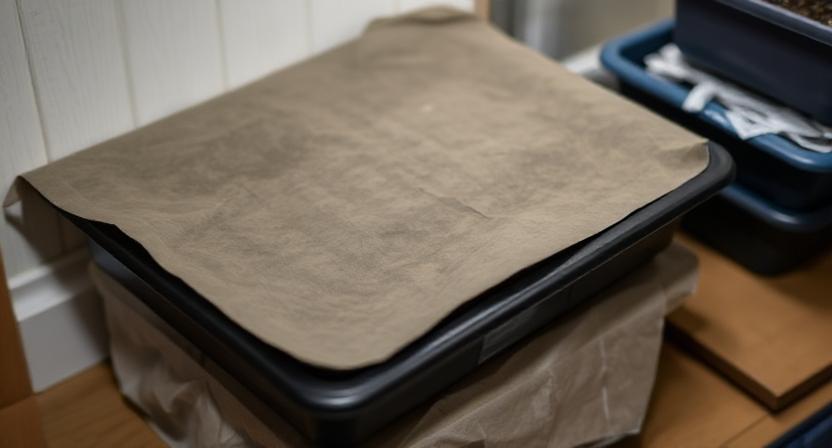
Microgreens need dark to start growing strong roots, like native ornamental grasses in my garden.
- Steps:
Cover the tray with another tray, cardboard, or a damp paper towel to block light.
- Put it in a warm place (65-75°F, like your kitchen).
- Check daily and mist if the soil looks dry. Most seeds sprout in 2-5 days.
- City Tip: Stack trays to save space, like a tiny indoor farm.
- Fun Fact: Radish microgreens sprout in 2 days—faster than my succulent propagation timeline!
Step 5: Give Them Light
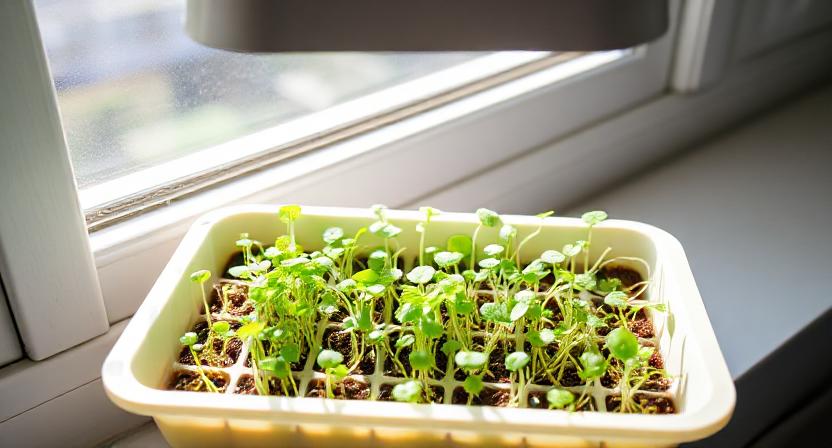
After sprouting, microgreens need light to turn green and grow.
- Steps:
Take off the cover when sprouts start pushing up (2-5 days).
- Move to a windowsill with 4-6 hours of light (not too direct) or use a grow light for 12-16 hours a day.
- Turn the tray daily so all greens grow evenly.
- My Tip: My dark window didn’t work, so I got a cheap LED grow light (check Purdue Extension for ideas). It helped a lot!
- City Tip: If you don’t have enough light, put foil around the tray to reflect light back.
Step 6: Water and Care
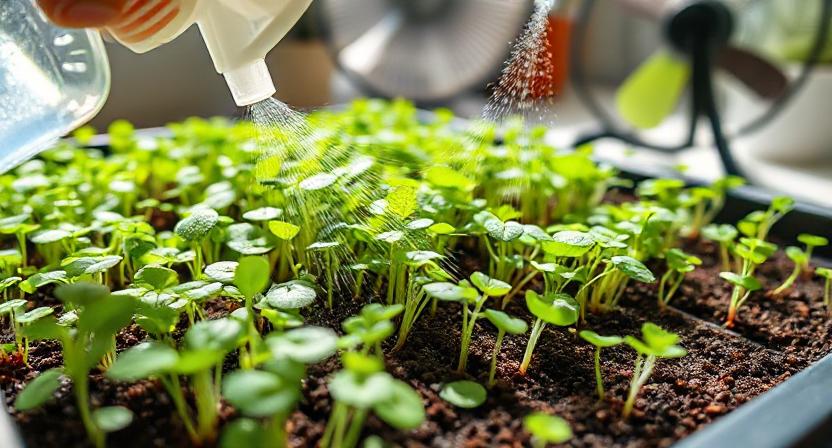
Microgreens are easy but need a little water every day.
- Steps:
Mist 1-2 times a day to keep soil damp, not soaking.
- If your tray has holes, water from the bottom to avoid mold.
- Watch for bugs (rare indoors) or mold; add a small fan for air if needed.
- City Tip: A fan helps air move, like I use for indoor hibiscus (see my tips at USA Garden Hub).
- My Tip: I overwatered my first kale greens, and they died. Mist lightly for best results.
Step 7: Cut Your Microgreens
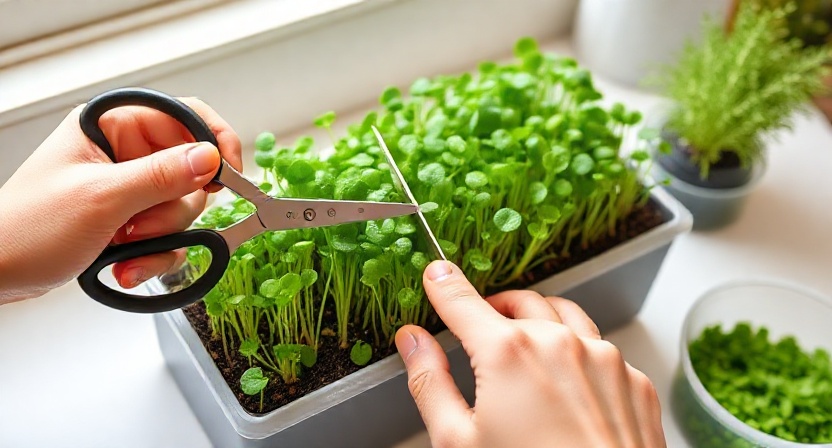
This is the best part—fresh greens in just 7-21 days!
- Steps:
Wait until greens are 1-3 inches tall with their first real leaves (not the baby seed leaves).
- Cut stems just above the soil with clean scissors.
- Rinse gently, pat dry, and keep in a sealed container in the fridge for up to a week.
- City Tip: Cut a little at a time and plant new trays every 5-7 days for nonstop greens.
- Fun Fact: Pea shoots taste like fresh peas; I add them to soups for extra flavor!
Step 8: Reuse and Compost
Make your setup eco-friendly, like a DIY compost bin.
- Steps:
Take out leftover roots and soil; add them to your compost (check my DIY compost bin ideas at USA Garden Hub).
- Wash the tray and start again with fresh soil.
- My Tip: I mix old microgreen soil into my compost—it’s great for feeding 8 blooming plants that bees love.
- City Tip: If you don’t compost, put roots in a city green waste bin.
Quick Tips for Growing Microgreens in Small Spaces
- Save Space: Stack trays or use shelves for lots of greens in a tiny apartment.
- Pick Easy Seeds: Start with fast ones like radish or broccoli for quick results.
- Light Trick: No sunny window? Get a cheap grow light (see University of Florida’s IFAS Extension).
- Keep Bugs Away: Clean trays and don’t overwater to stop gnats, like my 10 ways to get rid of ants in the garden tips.
- Use Compost: Add homemade compost from your DIY compost bin to make greens tastier.
For more help, check North Carolina State Extension or University of Wisconsin Extension for microgreen tips.
Wrapping Up
Growing microgreens at home is a fast, fun way to get fresh, healthy greens, even in a small city space. I love watching them sprout on my counter and sharing them with friends. Try radish for a spicy kick or pea shoots for sweetness—what will you grow? Leave a comment on USA Garden Hub to share your microgreen story!
Grow fresh microgreens at home—fast, easy, and mess-free! This Self-Watering Microgreens Kit comes with organic seeds, a reusable tray, grow mats, and a stylish bamboo frame. Perfect for salads and smoothies.