Learn how to grow hollyhocks successfully. This guide covers planting from seed, care tips, and solving common problems like rust disease for these classic cottage garden flowers.
I’ll never forget the first time I successfully grew hollyhocks along my garden fence. Their towering spires of colorful blooms created such a dramatic backdrop that completely transformed my cottage garden. After a few seasons of trial and error, I’ve discovered these majestic biennials are well worth the small effort they require.
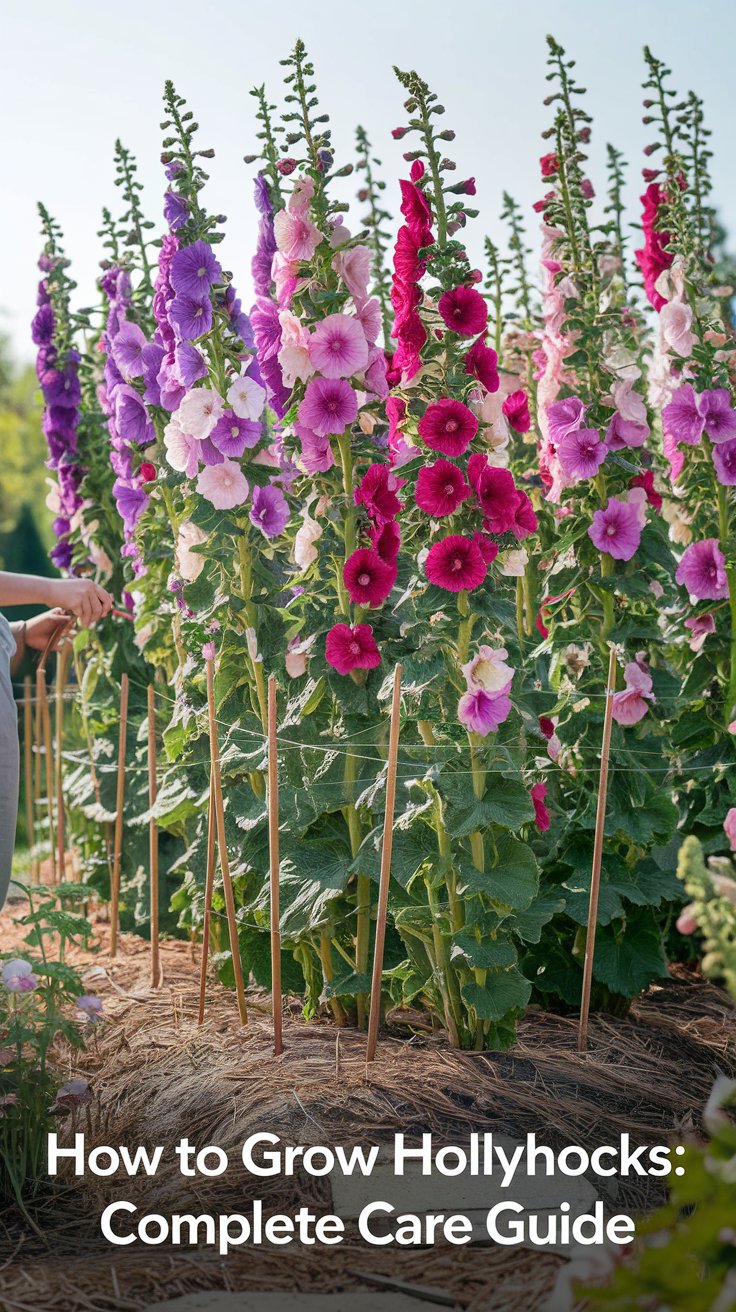
Hollyhocks (Alcea rosea) are classic cottage garden plants known for their tall flower spikes that can reach 6-8 feet high. They come in a beautiful range of colors from white and pale pink to deep burgundy and nearly black. Though technically short-lived perennials, most gardeners grow them as biennials, meaning they form leaves the first year and flower the second.
Why Grow Hollyhocks?
You should grow hollyhocks for their impressive height and old-fashioned charm. They’re perfect for adding vertical interest to garden borders, lining fences, or hiding unsightly walls. They also attract pollinators like bees and hummingbirds, and make excellent cut flowers for large arrangements.
Hollyhocks at a Glance
FeatureDescriptionCommon NameHollyhockBotanical NameAlcea roseaPlant TypeShort-lived perennial, usually grown as biennialMature Size6-8 ft. tall, 1-2 ft. wideSun ExposureFull sunSoil TypeRich, well-draining soilBloom TimeSummerFlower ColorsWhite, pink, red, yellow, purple, nearly blackHardiness ZonesUSDA 2-10
How to Plant Hollyhocks
You have two main options for starting hollyhocks in your garden.
Planting from Seed
This is the most common and economical method. I prefer direct sowing in summer for blooms the following year.
- When to Plant: Sow seeds in summer (June-July) for flowers next year, or early spring after last frost for blooms the same year (though often smaller).
- How to Plant: Scatter seeds on prepared soil and lightly cover with ¼ inch of soil. Space them about 18-24 inches apart. Keep the soil moist until germination, which takes 10-14 days.
- Thinning: Once seedlings have a few leaves, thin to the strongest plants, allowing proper air circulation between them.
Transplanting Seedlings
If you start seeds indoors, begin them 6-8 weeks before your last frost date. Use deep pots as hollyhocks develop taproots. Harden off seedlings gradually before planting them outdoors after all danger of frost has passed.
Hollyhock Care Requirements
Once established, hollyhocks need minimal care beyond a few key practices.
Light
Plant your hollyhocks in full sun where they’ll receive at least 6 hours of direct sunlight daily. Too much shade results in weak stems and poor flowering.
Soil
They prefer rich, well-draining soil. Before planting, work compost or well-rotted manure into the planting area. Good drainage is crucial to prevent root rot and other fungal diseases.
Watering
Water newly planted hollyhocks regularly to help them establish. Once established, they’re somewhat drought-tolerant but will perform best with consistent moisture, about 1 inch of water per week. Water at the base of the plant to keep leaves dry and prevent disease.
Fertilizing
Hollyhocks are heavy feeders. Apply a balanced, slow-release fertilizer in early spring when new growth appears. You can also side-dress with compost mid-season to support their vigorous growth.
Supporting Tall Varieties
The tall flower spikes often need support, especially in windy areas. I install stakes at planting time or grow them against fences or walls. Tie stems loosely to supports as they grow.
Common Problems and Solutions
Even with good care, you might encounter these common hollyhock issues.
- Hollyhock Rust: This fungal disease appears as orange-brown pustules on leaf undersides. To manage it, ensure good air circulation, water at soil level, remove affected leaves immediately, and clean up all plant debris in fall. The Missouri Botanical Garden offers excellent rust management advice.
- Japanese Beetles: These pests love hollyhock flowers. Hand-pick them early in the morning when they’re sluggish, or use neem oil as a deterrent.
- Spider Mites: In hot, dry weather, spider mites can be a problem. Spray plants with a strong stream of water regularly to dislodge them.
- Slugs and Snails: These pests chew holes in young leaves. Use organic slug baits or trap them with shallow dishes of beer sunk into the soil.
Encouraging Reblooming and Managing Self-Seeding
After the main flowering period, cut spent flower stalks back to the base. This often encourages a second, smaller flush of blooms later in summer. If you want hollyhocks to self-sow for future years, leave the last flowers of the season to develop seeds. You’ll likely have volunteers popping up each year, creating a naturalized look in your garden.
A Final Tip for Success
The key to beautiful hollyhocks is starting with healthy plants in the right location and staying vigilant about rust prevention. Don’t be discouraged if you face some challenges—these stately beauties are worth the effort. For more information on managing common garden diseases, check out our guide to organic pest and disease control.
For more cottage garden inspiration, explore our articles on flower gardening and designing with vertical elements. Do you have experience growing hollyhocks? Share your tips in the comments below!