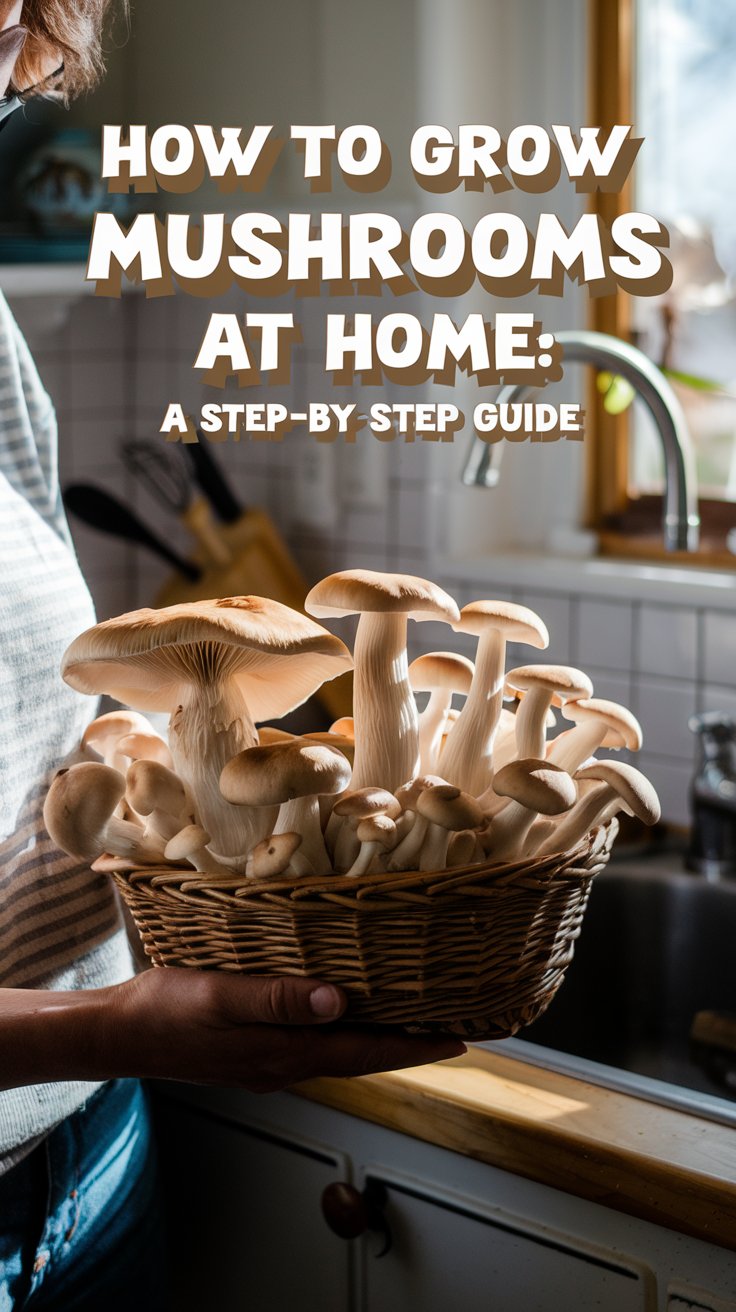
Discover how to grow mushrooms at home with this easy guide. From oyster to shiitake, learn the steps, tips, and tricks for fresh harvests!
Growing mushrooms at home is one of the most rewarding experiences in indoor gardening. Not only do you get to grow your own food, but you also get to witness the magic of nature unfolding right in your kitchen or basement. Hi, I’m Ashley Scott, and with 10 years of gardening under my belt, I’ve learned a thing or two about mushroom growing. Today, I’m excited to share a simple, step-by-step guide on how to grow mushrooms at home, perfect for beginners and seasoned gardeners alike. Whether you’re craving fresh shiitakes or curious about lion’s mane, this article has everything you need to get started.
Why Grow Mushrooms at Home?
Have you ever thought about growing your own mushrooms? I did, years ago, when I got tired of paying high prices for gourmet varieties at the store. It turns out, growing mushrooms at home is easier than you might think, and the benefits are hard to beat:
- Freshness: Nothing beats the taste of mushrooms you’ve just harvested.
- Affordability: After a small initial investment, you can enjoy multiple harvests.
- Sustainability: It’s a great way to reduce waste and grow your own food.
- Fun: Watching mushrooms sprout is like a mini science experiment!
Plus, mushrooms don’t need much space or sunlight, making them a fantastic addition to indoor gardening. If you’re new to this, you might enjoy my guide on Indoor Gardening Tips for Beginners over at usagardenhub.com.
Step 1: Choose Your Mushroom Variety
The first step in how to grow mushrooms at home is picking the right type. Not all mushroom varieties are the same—some are perfect for beginners, while others need a bit more care. Here are my top picks:
- Oyster Mushrooms: These are my favorite for newbies. They grow fast and aren’t picky about their growing medium—think straw or even coffee grounds.
- Shiitake Mushrooms: Love that umami flavor? Shiitakes are amazing but take longer and prefer hardwood sawdust or logs.
- Lion’s Mane Mushrooms: Known for their health benefits, these fluffy beauties grow well on sawdust or straw.
- Portobello Mushrooms: Big and meaty, they’re actually mature cremini mushrooms and love compost.
Here’s a quick rundown:
Mushroom VarietyDifficultyGrowing MediumTime to HarvestOysterEasyStraw, coffee grounds3-4 weeksShiitakeMediumHardwood sawdust, logs6-12 weeksLion’s ManeMediumSawdust, straw4-6 weeksPortobelloMediumCompost4-6 weeks
When I started, I went with oyster mushrooms because they’re so forgiving. Within weeks, I had a basket full! Want to dig deeper into mushroom varieties? Check out this Penn State Extension guide.
Step 2: Gather Your Supplies
Ready to start mushroom growing? You don’t need much to get going. Here’s what I use:
- Mushroom Spores or Spawn: Spores are like seeds, but spawn (pre-grown mycelium) is easier for beginners. I always go with spawn to save time.
- Growing Medium: This depends on your mushrooms—straw for oysters, sawdust for shiitakes, or compost for portobellos.
- Containers: Plastic bags, jars, or buckets work fine. Just poke some holes for air.
- Spray Bottle: Keeps things humid.
- Thermometer/Hygrometer: Optional, but I like tracking conditions.
You can find these at gardening stores or online. If you’re short on time, mushroom kits are a lifesaver—they come with everything prepped. I tried one years ago and was hooked! Curious about kits? Here’s a review from Gardener’s Supply.
Step 3: Prepare Your Growing Medium
Your mushrooms need a cozy home, aka the substrate. This varies by type:
- Oyster Mushrooms: I use straw or coffee grounds. Chop the straw, soak it in hot water (160-180°F) for an hour to pasteurize, then drain and cool it.
- Shiitake Mushrooms: Hardwood sawdust or logs are best. I’ve used pre-sterilized sawdust bags with great results.
- Portobello Mushrooms: Compost works wonders here.
One time, I skipped pasteurizing my straw, and mold took over—lesson learned! Wear gloves and a mask when prepping to stay safe.
Step 4: Inoculate with Spores or Spawn
Now comes the fun part: spore inoculation! This is where you introduce the mushrooms to their substrate:
- Using Spawn: Mix it into your cooled substrate. I layer it in a bag—substrate, spawn, repeat.
- Using Spores: This is trickier and needs a sterile setup, so I stick to spawn.
My first inoculation felt like a big deal—I was so worried about germs! Just keep your hands clean and work in a tidy space, and you’ll be fine. Seal your container loosely and store it somewhere dark and warm (70-75°F).
Step 5: Maintain Optimal Conditions
Mushrooms are a bit fussy about their environment, especially humidity control. Here’s what works:
- Temperature: Aim for 60-75°F. Oysters are flexible, but shiitakes like it cooler.
- Humidity: Keep it at 80-95%. I mist daily with a spray bottle or use a plastic tent with holes.
- Light: Mushrooms don’t need much—just a little indirect light is plenty.
I once forgot to mist, and my mushrooms dried up. Now, I’m religious about it! For more science on this, see this article on fungal growth.
Step 6: Monitor Growth and Development
After a week or two, you’ll see white, web-like mycelium spreading. Soon, tiny pinheads appear—baby mushrooms! This stage takes 1-3 weeks, depending on the variety.
Keep an eye out for mold or odd colors. If you spot trouble, cut it out fast. I love this part—it’s like watching nature work its magic.
Step 7: Harvest Your Mushrooms
Timing is everything when harvesting:
- Oyster Mushrooms: Pick when the caps flatten but don’t curl up.
- Shiitake Mushrooms: Harvest when caps open and feel firm.
- Lion’s Mane: Grab them when the spines are long.
- Portobello: Wait for big caps with exposed gills.
Twist or cut them off gently to keep the mycelium intact for more flushes. My first harvest was a thrill—I couldn’t believe I grew those myself!
Step 8: Store and Enjoy
Fresh mushrooms last about a week in the fridge. I store mine in a paper bag or wrapped in a damp cloth. Better yet, cook them right away—sautéed with garlic is my go-to.
Got extras? Dry or freeze them. For recipe ideas, peek at my post on Creative Ways to Use Homegrown Produce.
Tips and Tricks
Here are some gardening tips from my experience:
- Start with one variety to keep it simple.
- Clean everything—contamination is the enemy!
- Be patient; good things take time.
- Try new substrates once you’re confident.
One trick I swear by: mist lightly to avoid overwatering. For more advice, check out the USDA’s mushroom guide.
Conclusion
Learning how to grow mushrooms at home is a game-changer. It’s fun, sustainable, and oh-so-satisfying. With these steps, you’re ready to dive into mushroom growing and enjoy fresh harvests in weeks. Got questions? Drop them below—I’d love to hear how your journey goes!
FAQ
How long does it take to grow mushrooms at home?
It usually takes 3-4 weeks from start to harvest, though shiitakes can take longer.
Can I grow mushrooms without a kit?
Absolutely! Mushroom kits are easy, but you can use spawn and your own substrate too.
What’s the best mushroom for beginners?
Oyster mushrooms—they’re fast and forgiving.