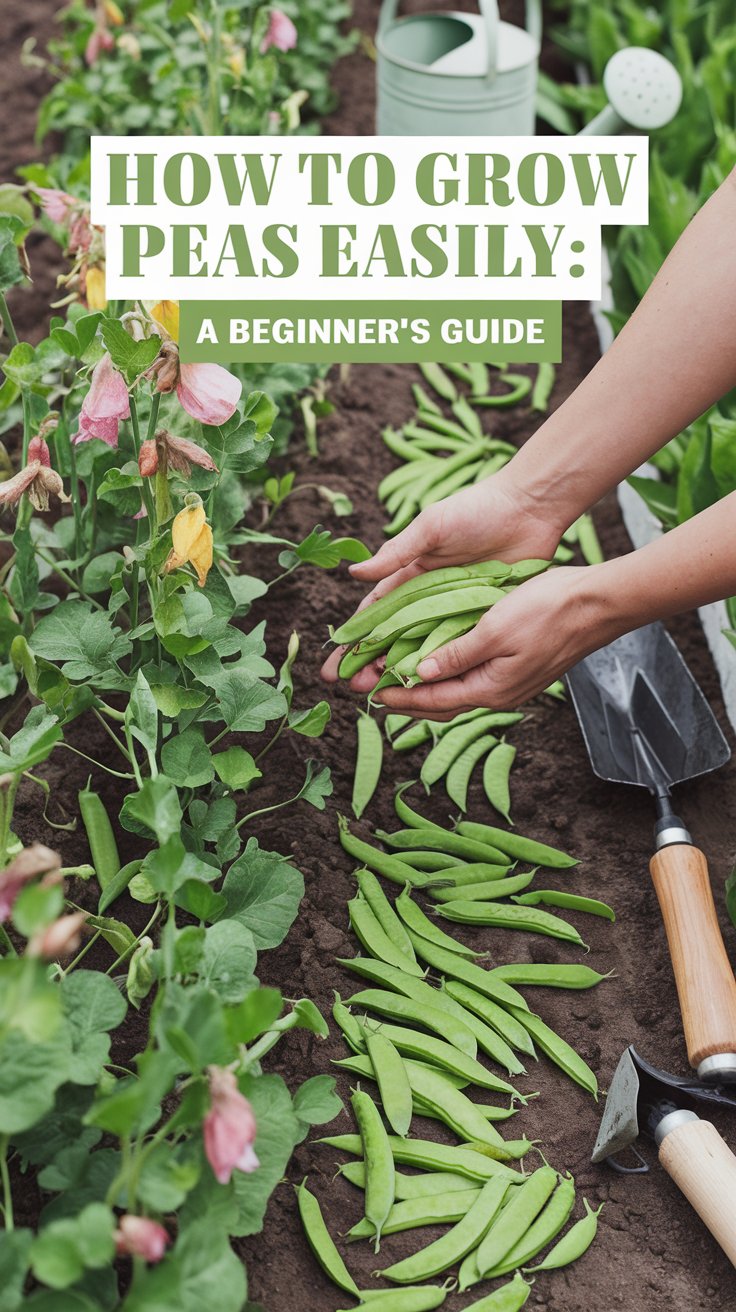
Learn how to grow peas easily with this beginner’s guide! From planting to harvesting, I’ll share my tips and personal experience to help you enjoy fresh, homegrown peas. Let’s get started!
There’s something incredibly satisfying about growing your own peas. Whether you’re a seasoned gardener or just starting out, peas are one of the easiest and most rewarding crops to grow. I remember the first time I planted peas in my backyard—I was amazed at how quickly they sprouted and how delicious they tasted fresh off the vine. If you’re thinking about growing peas, you’re in for a treat! In this guide, I’ll walk you through everything you need to know to grow peas easily and successfully.
Why Grow Peas?
Peas are not only delicious but also packed with nutrients like vitamins A, C, and K, as well as fiber and protein. They’re perfect for small gardens, containers, or even balcony spaces. Plus, they’re relatively low-maintenance, making them a great choice for beginners. Whether you prefer snap peas, snow peas, or shelling peas, growing your own is a fun and rewarding experience.
Types of Peas to Grow
- Snap Peas: Sweet and crunchy, these can be eaten whole, pods and all.
- Snow Peas: Flat pods with tiny peas inside, perfect for stir-fries.
- Shelling Peas: Also known as garden peas, these are grown for the peas inside the pods.
Step-by-Step Guide to Growing Peas
1. Choose the Right Time to Plant
- Cool Weather Crop: Peas thrive in cool weather, so plant them in early spring or late summer for a fall harvest.
- Soil Temperature: The soil should be at least 45°F (7°C) for seeds to germinate.
- My Experience: I planted my first batch of peas in early spring, and they grew like crazy! Just make sure to avoid planting during the hottest part of summer.
2. Pick the Perfect Spot
- Sunlight: Peas need at least 6 hours of sunlight daily.
- Soil: Well-draining soil with plenty of organic matter is ideal. I like to mix in some compost before planting.
- Space: If you’re short on space, peas grow well in containers too. I’ve grown them in large pots on my balcony with great success.
3. Prepare the Soil
- Loosen the soil to about 6-8 inches deep and mix in compost or aged manure.
- Peas prefer slightly acidic to neutral soil (pH 6.0-7.5).
- I always add a bit of organic fertilizer to give them a good start.
4. Plant the Seeds
- Spacing: Plant seeds about 1-2 inches deep and 2 inches apart. If you’re planting in rows, space the rows about 18-24 inches apart.
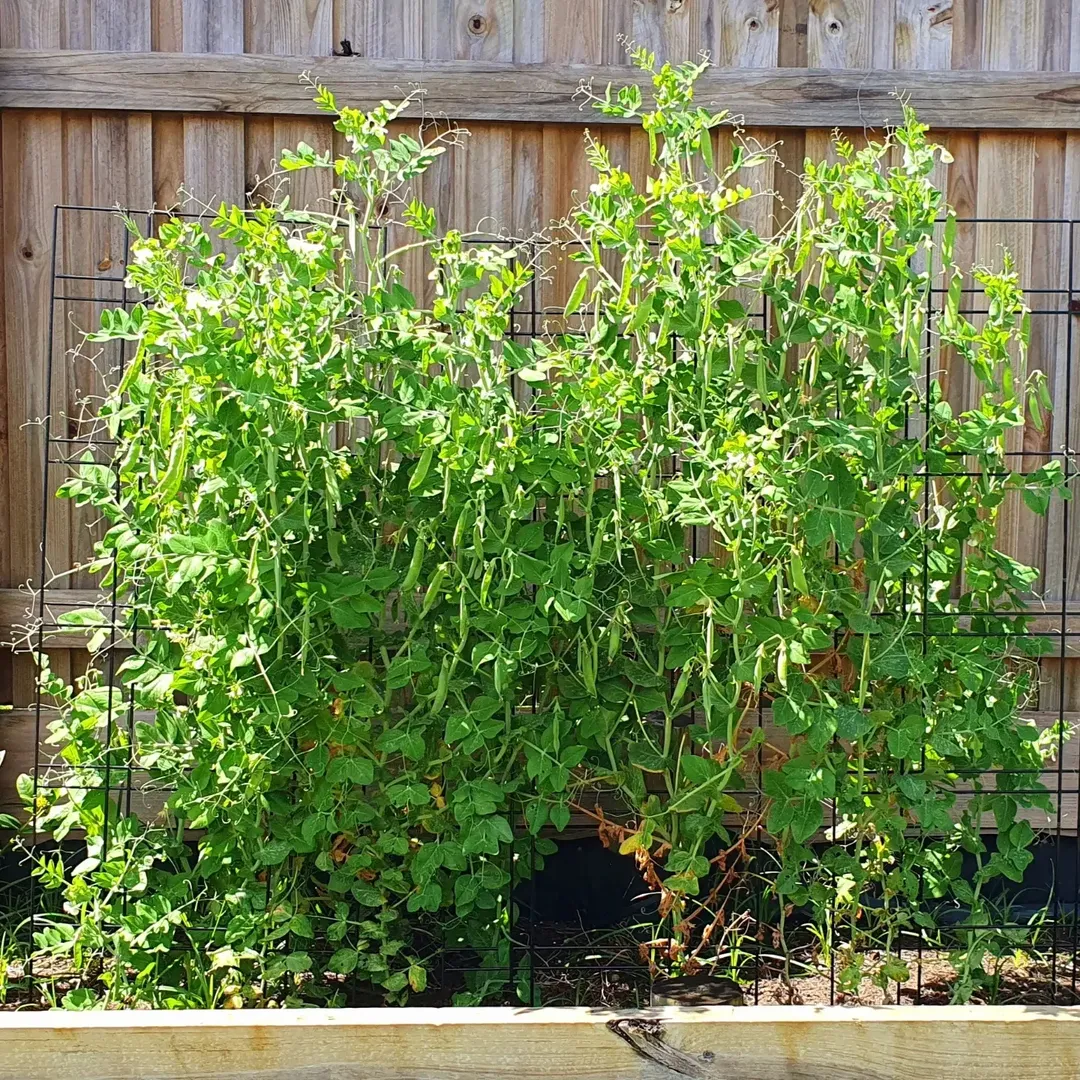
- Support: Peas are climbers, so provide a trellis, fence, or stakes for them to grow on. I use a simple bamboo trellis, and it works perfectly.
- My Tip: Soak the seeds in water overnight before planting to speed up germination.
5. Water Regularly
- Keep the soil consistently moist but not waterlogged.
- I water my peas deeply once a week, more often during dry spells.
- Avoid overhead watering to prevent fungal diseases.
6. Mulch and Weed
- Add a layer of mulch around the plants to retain moisture and suppress weeds.
- I use straw or shredded leaves, and it works wonders.
- Keep the area weed-free to reduce competition for nutrients.
7. Fertilize Sparingly
- Peas don’t need much fertilizer, especially if you’ve prepared the soil well.
- I give mine a light dose of balanced fertilizer when they start flowering.
8. Watch for Pests and Diseases
- Common pests include aphids and pea weevils. I spray them off with water or use insecticidal soap if needed.
- Powdery mildew can be an issue in humid conditions. Ensure good air circulation and avoid overhead watering.
9. Harvest at the Right Time
- Snap Peas: Harvest when the pods are plump and the peas inside are just starting to form.
- Snow Peas: Pick when the pods are flat and the peas are tiny.
- Shelling Peas: Wait until the pods are fully plump but still bright green.
- My Tip: Harvest regularly to encourage more production. I love snacking on fresh peas while I’m out in the garden!
Tips for Growing Peas Successfully
- Rotate Crops: Don’t plant peas in the same spot year after year to prevent soil-borne diseases.
- Companion Planting: Plant peas near carrots, cucumbers, or radishes for mutual benefits.
- Succession Planting: Sow seeds every 2-3 weeks for a continuous harvest.
- Save Seeds: Let a few pods mature and dry on the plant to save seeds for next year.
My Personal Experience
Growing peas has been one of the most rewarding experiences in my gardening journey. I love watching the tendrils climb up the trellis and the excitement of harvesting fresh peas. My kids love helping me pick them, and there’s nothing better than eating peas straight from the garden. They’re sweet, crunchy, and so much better than store-bought ones!
Final Thoughts
Growing peas is easy, fun, and incredibly satisfying. Whether you have a large garden or just a small balcony, you can enjoy the taste of fresh, homegrown peas. With a little care and attention, you’ll be harvesting your own peas in no time. Trust me—once you taste them, you’ll never go back to store-bought!
Have you grown peas before? What’s your favorite variety? Share your tips and experiences in the comments below—I’d love to hear from you! And if you’re looking for more gardening tips, check out my guide on How to Start a Vegetable Garden.