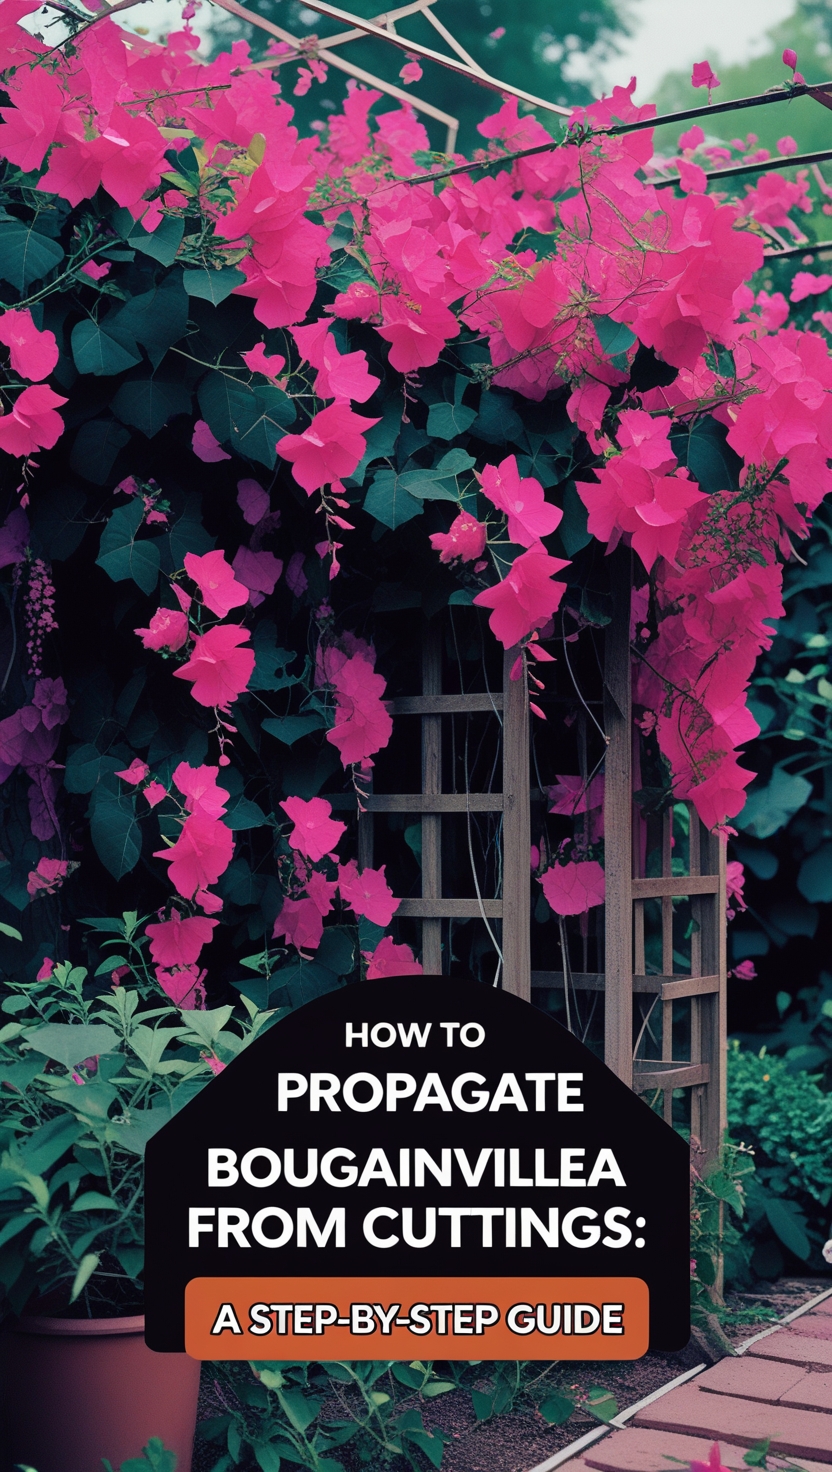
Discover how to propagate bougainvillea from cuttings with this beginner-friendly guide. From cutting to rooting, grow your own vibrant plants today!
Hey there, gardening friends! I’m Ashley Scott, and with over 10 years of gardening experience under my belt, I’m thrilled to share one of my favorite projects with you: how to propagate bougainvillea from cuttings. If you’ve ever gazed at those stunning, colorful blooms and thought about growing your own, you’re in for a treat. This guide will walk you through every step, answer your burning questions, and give you the confidence to try it yourself—all while keeping things simple and fun. Let’s get started!
What Is Propagation, and Why Bougainvillea Cuttings?
Propagation is just a fancy word for growing new plants from parts of an existing one. It’s like giving your favorite plant a chance to multiply! There are a few ways to do it—seeds, division, or cuttings—but today, we’re focusing on propagating bougainvillea from cuttings. Why? Because it’s easy, cost-effective, and lets you create exact copies of that gorgeous bougainvillea you love.
So, why bother with cuttings? For one, it’s free—yep, no need to buy new plants when you can grow them from what you’ve already got. Plus, it’s a fantastic way to preserve a specific variety you adore. And honestly, there’s nothing more satisfying than watching a tiny cutting turn into a blooming beauty. Ready to learn how to propagate bougainvillea from cuttings? Let’s dive into the steps!
Step 1: Selecting the Perfect Cuttings
The secret to success starts with picking the right stems. Timing and quality matter here.
When to Take Cuttings
Spring or early summer is your sweet spot. That’s when bougainvillea is in its active growth phase, making it more likely to root successfully.
Choosing Healthy Stems
Look for stems that are:
- Semi-Hardwood: Not too soft and green, not too old and woody—just right in the middle.
- Healthy: No signs of bugs, disease, or damage.
- 6-8 Inches Long: Long enough to work with but not overwhelming.
My Tip: I always snip a few extra cuttings. If one doesn’t root, I’ve got backups!
Step 2: Preparing Your Cuttings
Got your stems? Great! Now, let’s get them ready to root.
Cutting the Right Way
- Cut Below a Node: Nodes are where leaves or branches sprout. Use sharp scissors or pruners and cut at a 45-degree angle—it gives the cutting more surface area to grow roots.
- Trim the Bottom: Strip off leaves from the lower half so they don’t rot when planted.
Removing Leaves and Flowers
- Keep Some Top Leaves: Leave a few at the top to help the cutting make energy.
- Ditch the Flowers: Snip off any blooms or buds—they’ll steal energy from root growth.
A Little Story: My first try at this, I left the flowers on, thinking they’d look pretty. Big mistake—those cuttings barely rooted. Now I know better!
Step 3: Rooting Your Bougainvillea Cuttings
This is where the magic happens—getting those cuttings to sprout roots. You’ve got two options: soil or water. I’ll break down both.
Boosting Success with Rooting Hormone
Before planting, dip the cut end in rooting hormone (a powder or gel you can find at garden stores). It’s not mandatory, but it seriously ups your odds of rooting. I swear by it!
Rooting in Soil
- Pick a Good Mix: Use something well-draining—I mix perlite and peat moss in equal parts.
- Plant the Cutting: Poke a hole in the soil with a pencil, then pop the cutting in about 2-3 inches deep.
- Water Lightly: Just enough to settle the soil around it.
Rooting in Water
Wondering, “Can you root bougainvillea cuttings in water?” Yep, you can! Here’s how:
- Grab a Jar: Fill it with room-temperature water and submerge the bottom 2-3 inches of the cutting.
- Keep It Fresh: Swap out the water every few days.
- Be Patient: Roots might take 4-8 weeks to show up.
My Take: I’ve done both, but soil-rooted cuttings seem sturdier when I transplant them. That said, water rooting is fun because you can watch the roots grow!
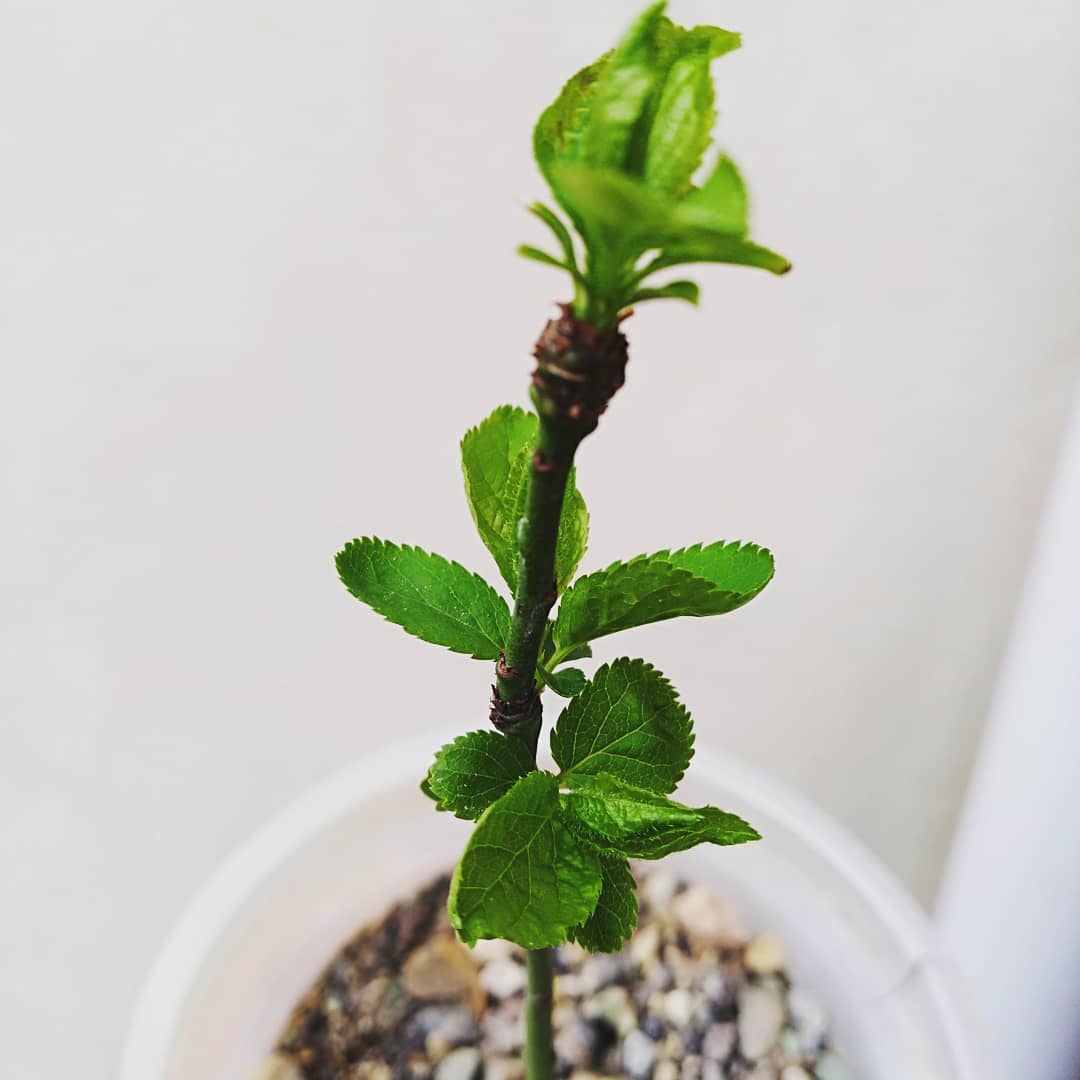
Step 4: Caring for Your Cuttings
Your cuttings are planted—now they need some TLC to thrive.
Watering and Humidity
- Soil Cuttings: Keep the soil moist but not soggy. Overwatering is a rookie mistake I’ve made!
- Boost Humidity: Cover the pot with a plastic bag or a dome to trap moisture—like a mini greenhouse.
Light and Temperature
- Bright, Indirect Light: A sunny windowsill works, but filter the light with a curtain to avoid scorching.
- Stay Warm: Aim for 70-85°F (21-29°C). Too cold, and those roots won’t budge.
Quick Tip: I keep my cuttings near a window with a sheer curtain—it’s the perfect balance.
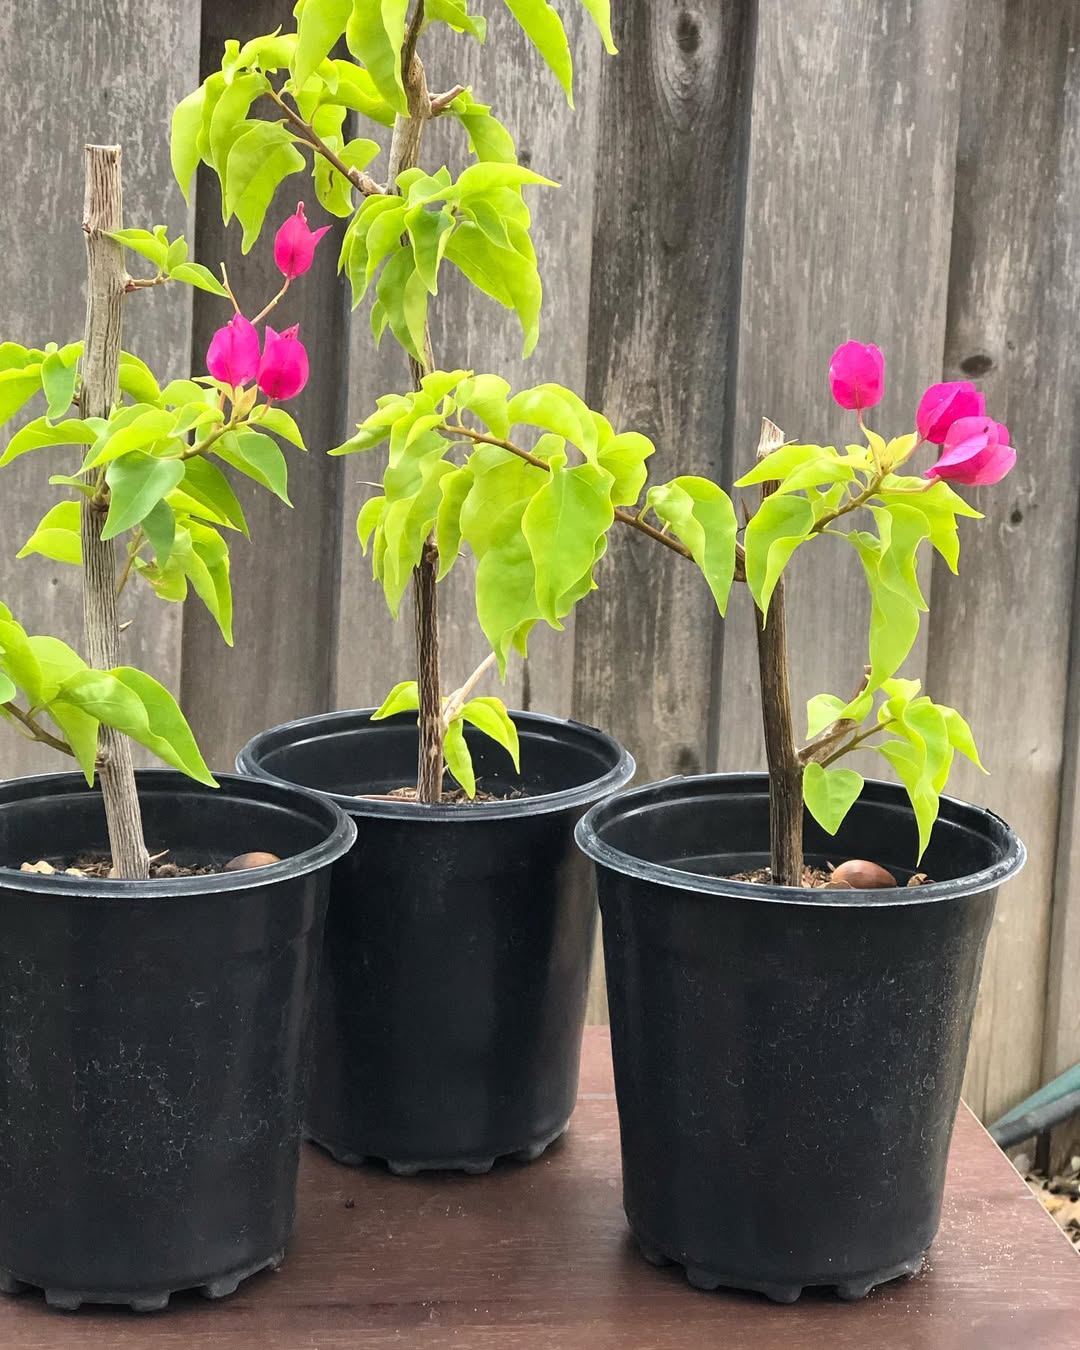
Step 5: Transplanting Your Rooted Cuttings
Once roots form, it’s time to move your baby plants to their forever homes.
When to Transplant
- Test the Roots: Give the cutting a gentle tug. Resistance means roots!
- Spot New Growth: Little leaves or shoots are a green light to transplant.
How to Transplant
- Choose a Spot: A bigger pot or a garden bed with well-draining soil works.
- Be Gentle: Handle those delicate roots with care.
- Water Well: Give it a good drink to help it settle in.
Lesson Learned: I once rushed a transplant, and the cutting flopped. Waiting a bit longer makes all the difference.
Your Bougainvillea Questions, Answered
I’ve heard these questions a lot over the years, so let’s tackle them!
Can You Grow Bougainvillea From a Cutting?
Yes, 100%! Growing bougainvillea from a cutting is super doable with the steps above.
Can You Root Bougainvillea Cuttings in Water?
You bet! It’s a simple option, though the roots might need extra care when you move them to soil.
How Long Do Bougainvillea Cuttings Take to Root?
Usually, bougainvillea cuttings take 4-8 weeks to root. It depends on light, warmth, and how happy they are.
Want More Tips? Check out my guide on How to Care for Bougainvillea for keeping your plants thriving!
Wrapping It Up
There you have it—a complete guide on how to propagate bougainvillea from cuttings! It’s an easy, budget-friendly way to fill your garden with those vibrant blooms. Take your time, follow the steps, and soon you’ll have new plants to show off. Have questions or want to share your progress? Drop a comment below—I’d love to hear from you. Happy gardening!