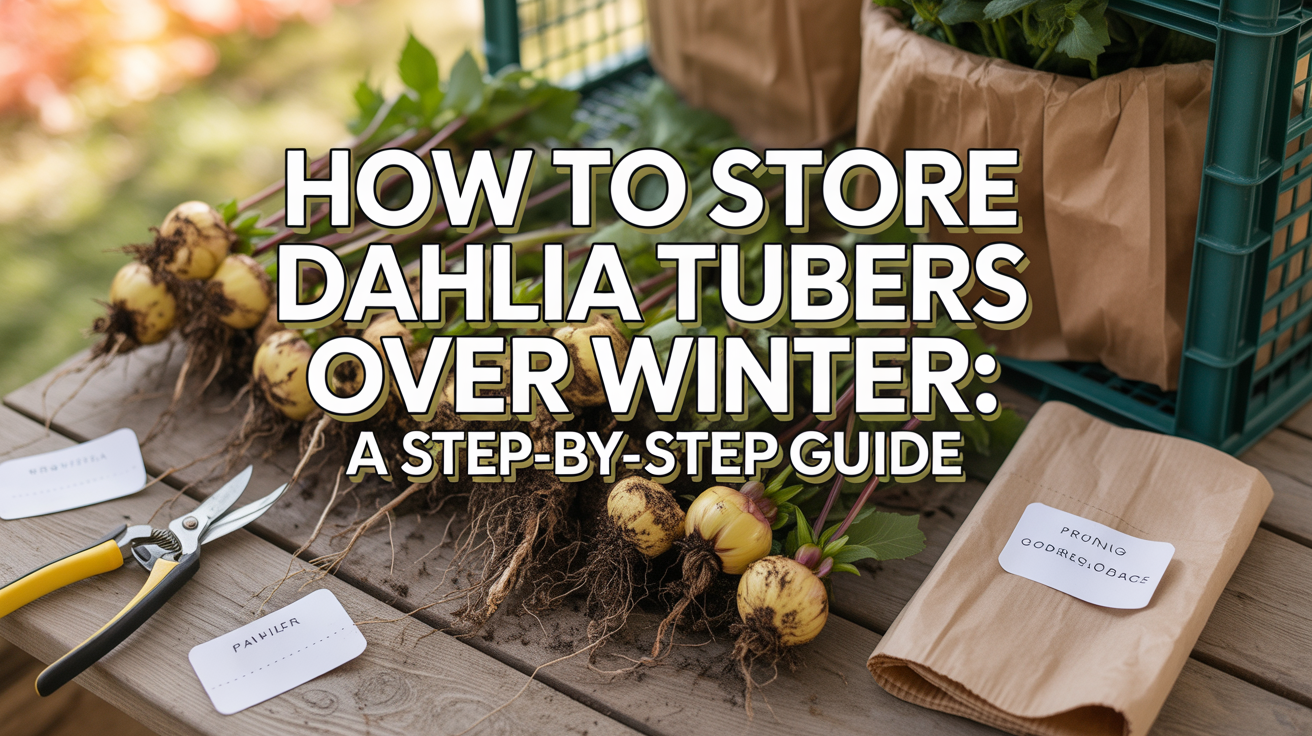
Discover how to store dahlia tubers over winter with easy, proven methods. Dig, clean, divide, and store your tubers right to enjoy vibrant flowers again. Expert tips from 10 years of gardening.
Hi, I’m Ashley Scott. I’ve spent the last 10 years turning my backyard into a dahlia haven here in the USA. Those big, bold blooms bring me joy every summer, but living in zone 6 means I have to store dahlia tubers over winter to keep them alive. If you’re like me and hate buying new plants each year, this guide is for you. I’ll walk you through every step, from digging them up to checking them in February. Let’s get your tubers ready for next season.
Why Store Dahlia Tubers Over Winter?
Dahlias are tender perennials. They thrive in warm soil but can’t handle freezing ground. In USDA zones 8 and warmer, you can leave them in the ground. But if you’re in zones 7 or colder—like most of the Midwest or Northeast—you risk losing them to frost.
Storing dahlia tubers saves money. One clump can multiply into three or four by spring. I’ve turned a single $5 tuber into a dozen plants over three years. It also lets you divide them, so you get more varieties without extra cost. Plus, healthy stored tubers bloom bigger and stronger.
According to Penn State Extension, proper storage keeps 80-90% of tubers viable if you follow basic rules. That’s a win for any gardener.
When to Dig Up Your Dahlia Tubers
Timing matters. Wait for the first hard frost, when stems turn black. This usually hits mid-October in my area, but check your local frost dates on [our spring garden prep guide]
Dig too early, and tubers stay wet and rot. Dig too late, and frost damages them. I mark my calendar for two weeks after the first light frost. That gives plants time to harden off.
University of New Hampshire Extension agrees: Aim for soil temps around 50°F. Use a soil thermometer if you have one. In my garden, that’s usually November 1.
How to Dig Up Dahlia Tubers Without Damage
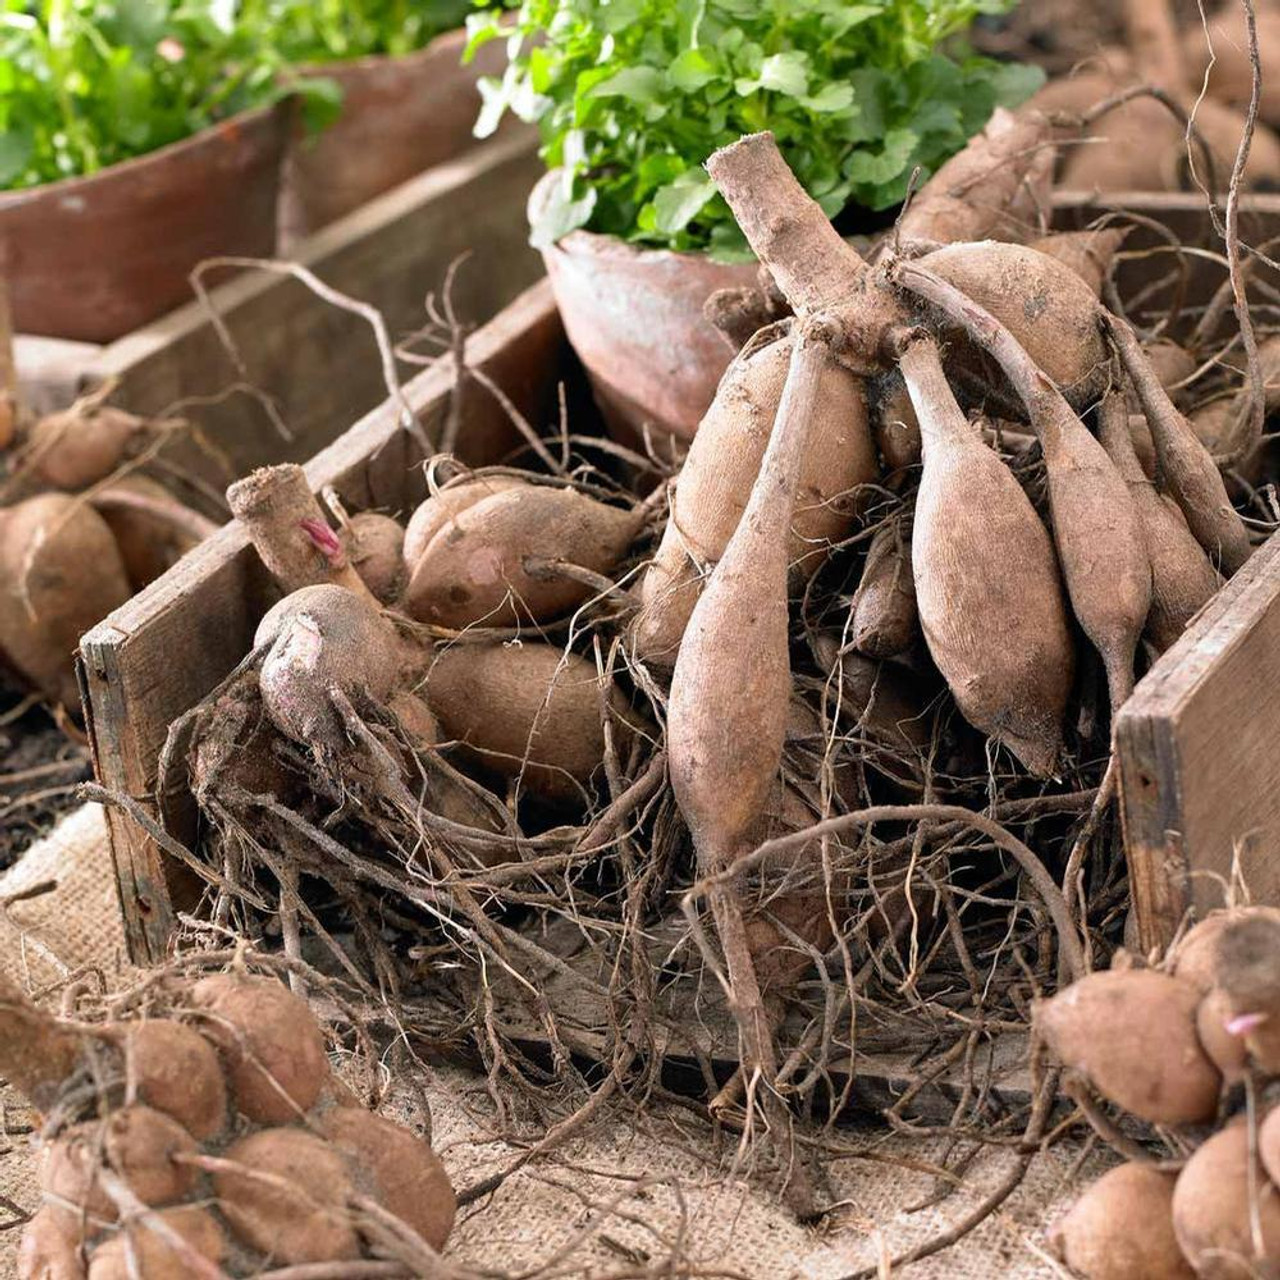
Grab a garden fork or shovel. Start digging 6-8 inches from the base to avoid slicing tubers. Lift the clump gently. Shake off loose dirt, but don’t wash yet.
Cut stems to 4-6 inches above the crown. This prevents rot. Label each clump with a tag—variety names fade fast. I use waterproof markers and plastic stakes.
In my first year, I rushed and snapped a neck on my favorite ‘Cafe au Lait’. Lesson learned: Go slow. One clump takes 10-15 minutes.
For more on starting your dahlia collection, see our best dahlia varieties for beginners.
Cleaning and Preparing Your Tubers
Lay clumps on newspaper in a garage or shed for 24-48 hours. Let them dry out. This cures the cuts and toughens the skin.
Rinse under a hose if soil sticks. Use your fingers to rub off clumps. Inspect for damage. Discard any with mushy spots or broken necks—they won’t survive.
Wisconsin Horticulture Extension recommends air-drying fully before storage. Wet tubers rot 50% faster.
I dry mine on wire racks. Airflow prevents mold. This step takes a day, but it’s worth it.
Dividing Dahlia Tubers: Do It Now or Wait?
You have options. Store whole clumps and divide in spring, or split them now for more plants.
To divide: Soak the clump in water for an hour. This loosens soil. Use a sharp knife to cut through the crown. Each piece needs one eye (growth bud), a neck, and a tuber body.
Eyes look like small pink nubs. Aim for 1-inch squares of crown per piece. I get 4-6 divisions from a mature clump.
Dividing now frees space, but it’s messy in fall. I wait until spring unless the clump is huge. Iowa State University Extension says spring dividing works fine—tubers store better intact.
Last fall, I divided 20 clumps. I lost two tubers to bad cuts, but gained 50 new ones. Progress!
Curing Your Tubers Before Storage
After dividing or cleaning, cure them. Place in a warm, dry spot (60-70°F) for 1-2 weeks. This heals cuts and dries the surface.
Spread them out on shelves. Turn daily for even drying. Good airflow is key—use a fan if needed.
Curing reduces rot risk by 30%, per UC Master Gardeners. I cure mine in my potting shed. It smells earthy, like fall harvest.
Skip this if your fall is mild, but I never do. It’s insurance.
Best Ways to Store Dahlia Tubers Over Winter
Now the main event: how to store dahlia tubers for winter. You need a cool, dark, dry spot. Think basement, garage, or root cellar at 40-50°F. Avoid freezing—below 32°F kills them.
Materials You’ll Need
- Plastic bins or cardboard boxes with lids.
- Vermiculite, peat moss, or cedar shavings (not soil).
- Labels and markers.
I use 18-gallon totes from the hardware store. Drill holes in lids for air.
Step-by-Step Storage Process
- Layer 2 inches of medium in the bottom.
- Add one layer of tubers, necks up. Don’t let them touch.
- Cover with 1 inch of medium.
- Repeat until full. Leave 2 inches at the top.
Seal loosely. Moisture escapes, but humidity stays at 60-70%.
University of Alaska Fairbanks Cooperative Extension suggests peat moss for acidity—it fights mold.
I pack 10-15 clumps per bin. One year, I tried sawdust. It worked, but peat is cleaner.
Ideal Storage Conditions
- Temperature: 40-50°F. My garage hits 45°F average.
- Humidity: 60-70%. Too dry shrivels; too wet rots.
- Light: None. Cover bins if needed.
- Ventilation: Slight. Open lids weekly.
Monitor with a thermometer/hygrometer. Cheap ones cost $10.
For year-round care tips, check our perennial flower care page.
Checking Your Tubers During Winter
Don’t set and forget. Check every 4-6 weeks.
Look for:
- Shriveling: Mist with water or add damp medium.
- Mold: Remove affected tubers; add dry shavings.
- Soft spots: Discard immediately.
I check on New Year’s and Valentine’s. Last winter, one bin dried out. A quick spray saved 80% of them.
This habit keeps success rates high. Penn State Extension reports monthly checks boost viability to 95%.
Common Mistakes to Avoid When Storing Dahlia Tubers
I’ve made them all. Learn from me.
- Storing wet: Always dry first.
- Wrong temp: Fridge is too cold; attic too hot.
- Overpacking: Touching tubers spread rot.
- No labels: You’ll forget varieties by spring.
- Ignoring checks: Small issues become big losses.
One mistake cost me half my ‘Bishop of Llandaff’ last year. Now I double-check temps.
For pest issues that carry over, see our dahlia pest control guide.
Replanting Dahlia Tubers in Spring
Come March, inspect again. Discard mushy ones. Healthy tubers feel firm with sprouts.
Plant 4-6 inches deep, eyes up, in well-drained soil. Space 18-24 inches apart. Water lightly.
Harden off outdoors after last frost. I start in pots for two weeks.
Expect blooms by July. Dutch Grown notes divided tubers flower faster.
For full instructions, visit our dahlia planting guide.
My Personal Dahlia Storage Story
Let me share a quick tale. In 2018, I planted my first dahlias—five tubers from a friend. Fall came fast. I dug them up in a rush after work, crammed them into a damp box, and forgot them in the corner.
By spring, only two survived. Mushy mess. I cried over my ‘Thomas A. Edison’—those deep red blooms haunted me.
Next year, I planned. I bought bins, read Two Sisters Flower Farm’s guide, and cured properly. Stored in the garage at 42°F with peat. Checked monthly.
Result? All five multiplied to 18. That garden exploded with color. Now, I share divisions with neighbors. Storing dahlia tubers isn’t just practical; it’s how you build a legacy bed.
Over 10 years, I’ve stored hundreds. Losses drop to under 10% now. You can do this too.
Your turn. Grab that fork and start digging. Your dahlias will thank you with armfuls of summer joy. Questions? Drop a comment below. Happy gardening!