
Learn to identify and control spider mites on cannabis plants. Discover easy prevention tips and treatment methods to protect your crop from these tiny but troublesome pests.
If you’re growing cannabis, you might face a tiny but mighty foe: spider mites. These pests can wreak havoc on your plants if left unchecked. But don’t worry – this guide will arm you with the knowledge to identify, prevent, and control spider mites. Whether you’re a new grower or have been at it for years, you’ll find valuable tips to keep your cannabis plants healthy and thriving.
Spider Mites on Cannabis
Your Complete Guide to Identification, Prevention and Control
Growing cannabis can be rewarding, but it comes with challenges. One common problem growers face is spider mites. These tiny pests can cause big damage to your plants if not caught early. This guide will help you spot, prevent, and get rid of spider mites on your cannabis plants.
What Are Spider Mites?
Spider mites are tiny bugs that feed on plants, including cannabis. They’re so small that you might not see them without a magnifying glass. These pests got their name because they spin webs like spiders.
How Spider Mites Harm Cannabis Plants
Spider mites can hurt your cannabis plants in several ways:
- They suck out plant juices, weakening the plant.
- Their feeding causes yellow or white spots on leaves.
- Severe infestations can kill plants.
- They spread quickly, putting your whole crop at risk.
Signs of Spider Mites on Cannabis
Knowing what to look for can help you catch spider mites early. Here are some signs to watch out for:
1. Tiny Spots on Leaves
Look for small yellow, white, or brown spots on your cannabis leaves. These spots might look like freckles.
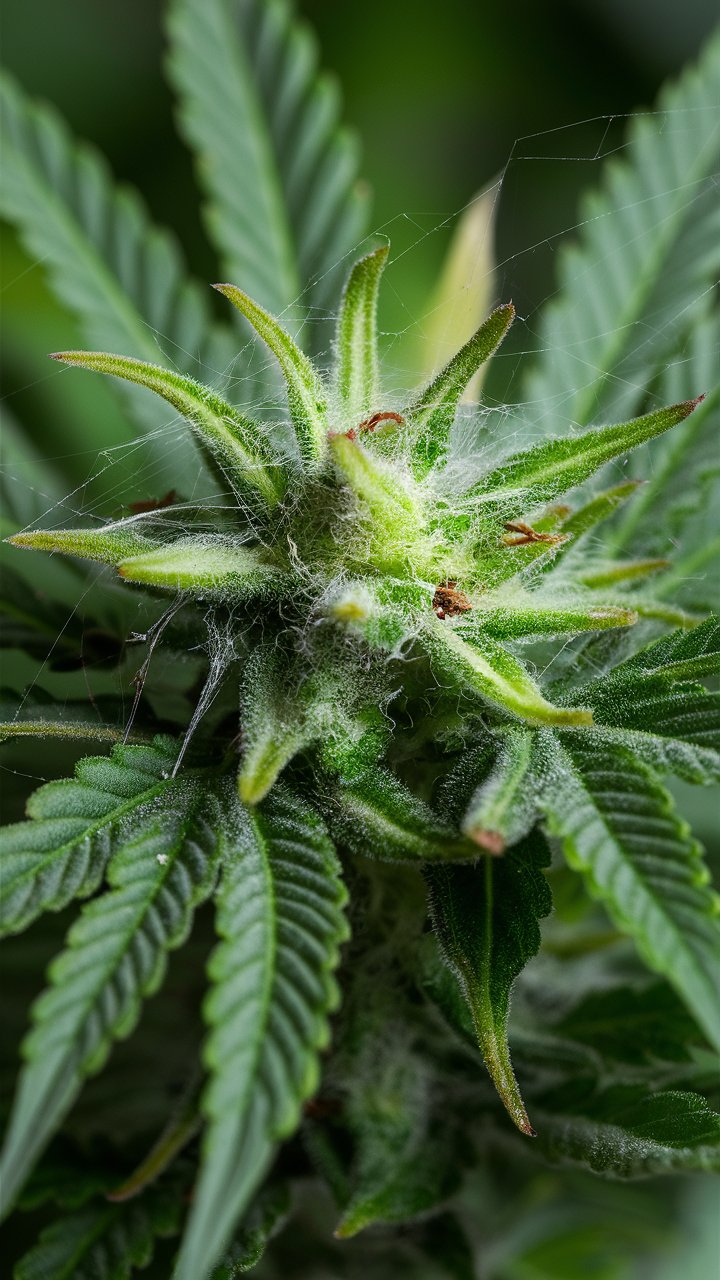
2. Webbing
Spider mites make fine webs on plants. Check the undersides of leaves and between branches for tiny webs.
3. Leaf Damage
As the problem gets worse, leaves may turn yellow, dry out, or fall off.
4. Slow Plant Growth
Plants with spider mites often grow slower than healthy plants.
How to Check for Spider Mites
To find spider mites, follow these steps:
- Use a magnifying glass to look closely at leaves, especially the undersides.
- Shake a leaf over a white piece of paper. If you see tiny specks moving on the paper, you might have spider mites.
- Look for webbing in the corners of your grow space or between plant branches.
Preventing Spider Mites on Cannabis
It’s easier to prevent spider mites than to get rid of them. Here are some tips to keep your plants safe:
1. Keep Your Grow Space Clean
Regularly clean your grow area. Wipe down surfaces and remove dead leaves.
2. Control Temperature and Humidity
Spider mites like warm, dry conditions. Keep your grow room between 68-77°F (20-25°C) and humidity around 50-60%.
3. Use Clean Equipment
Clean your tools and clothes before entering your grow space to avoid bringing in pests.
4. Inspect New Plants
Check any new plants carefully before adding them to your grow room.
5. Use Beneficial Insects
Some bugs eat spider mites. You can buy and release these helpful insects in your grow space.
Natural Ways to Control Spider Mites
If you find spider mites on your cannabis plants, try these natural methods first:
1. Prune Affected Areas
Cut off badly infested leaves and destroy them.
2. Spray with Water
A strong spray of water can knock spider mites off plants. Focus on the undersides of leaves.
3. Neem Oil Solution
Mix neem oil with water and a little soap. Spray this on your plants every few days.
4. Introduce Predatory Mites
These are special mites that eat spider mites but don’t harm plants.
Chemical Control Methods
If natural methods don’t work, you might need to use chemicals. Be careful, as some can harm your plants or affect the quality of your cannabis.
1. Insecticidal Soaps
These are safer than many chemicals and can be effective against spider mites.
2. Pyrethrin-Based Sprays
These come from chrysanthemum flowers and can kill spider mites.
3. Commercial Miticides
There are special sprays made to kill mites. Use these carefully and follow the instructions.
Tips for Using Any Treatment
- Always test a small area first to make sure it doesn’t harm your plants.
- Spray the undersides of leaves where spider mites often hide.
- Treat your plants more than once, usually every 3-5 days for a few weeks.
- Don’t use treatments right before harvesting your cannabis.
Preventing Future Infestations
After getting rid of spider mites, take these steps to keep them away:
- Keep checking your plants regularly.
- Maintain a clean grow space.
- Control your grow room environment.
- Consider using preventive sprays or beneficial insects.
When to Seek Expert Help
If you’ve tried everything and still have problems, it might be time to ask an expert. Local gardening stores or cannabis grow shops often have people who can give advice.
Spider mites can be a big problem for cannabis growers, but with the right knowledge and tools, you can protect your plants. Remember, catching the problem early is key. Regular checks and good growing practices will help keep your cannabis healthy and spider mite-free.
By following this guide, you’ll be better prepared to spot, stop, and prevent spider mites on your cannabis plants. Happy growing!
For more gardening tips and plant care guides, visit usagardenhub.com