Discover 7 affordable DIY gardening tools that every gardener should have. Learn how to make them with simple materials and why they’re essential for your garden.
Hey there, fellow gardeners! I’m Ashley Scott, and after 10 years of tending to my own little patch of green here in the USA, I’ve learned a thing or two about gardening on a budget. One of my biggest takeaways? You don’t need to splurge on fancy equipment to have a thriving garden. In fact, some of the best tools are ones you can make yourself with stuff you probably already have lying around. That’s why I’m excited to share my list of 7 cheap DIY tools every gardener needs. These are practical, affordable, and easy to whip up at home—perfect for beginners and seasoned growers alike.
Whether you’re planting seeds or battling weeds, these DIY tools will save you money and make gardening even more fun. Plus, they’re a great way to recycle materials and keep things eco-friendly. While there are plenty of gardening tools out there—like the 10 gardening tools you’ll see in most sheds—these homemade gems are must-haves for anyone looking to get creative. Let’s dig in!
1. Seedling Pots from Recycled Materials
How Can I Start Seeds Without Buying Pots?
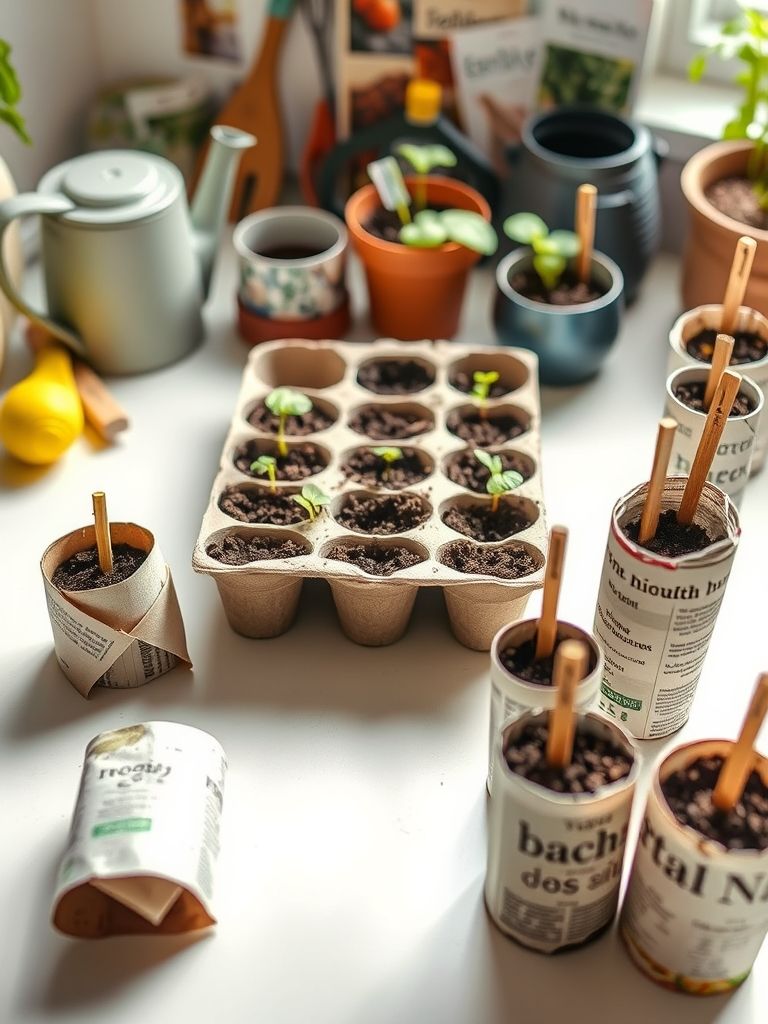
Starting seeds is one of the most exciting parts of gardening, but those little plastic pots can add up. Here’s a trick I’ve used for years: make your own seedling pots from recycled materials like toilet paper rolls, egg cartons, or newspaper. They’re free, biodegradable, and work just as well as store-bought options.
- Toilet Paper Rolls: Cut each roll in half, fold the bottom edges inward to make a base, and fill with potting soil. Plant your seeds, and when they’re ready, pop the whole thing in the ground—the cardboard breaks down naturally.
- Egg Cartons: Fill each compartment with soil, add a seed, and water. Transplant them directly into the soil when the seedlings sprout.
- Newspaper: Roll a sheet into a tube, fold the bottom, and secure with a bit of tape. Fill with soil and plant away.
I love these because they’re a win-win: they save money and reduce waste. Want more seed-starting tips? Check out my guide on starting seeds indoors over at USA Garden Hub.
External Resource: Learn more about eco-friendly gardening from Cornell University’s gardening resources.
2. Drip Irrigation System from Plastic Bottles
How Do I Water My Plants Without a Fancy System?
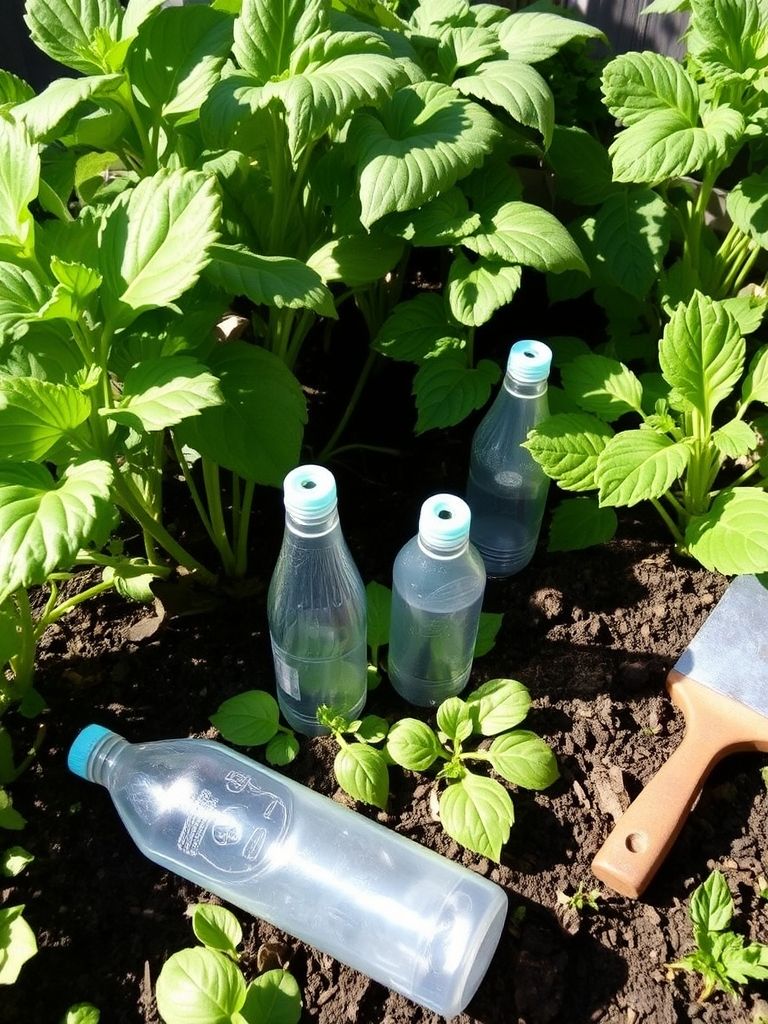
Watering can feel like a chore, especially in the summer heat. That’s where a DIY drip irrigation system comes in, and all you need are some old plastic bottles. I started doing this years ago when I realized how much time (and water!) I was wasting with a hose.
- How to Make It: Grab a 2-liter plastic bottle, poke a few small holes in the bottom with a nail, and bury it next to your plants with the top sticking out. Fill it with water, and it’ll slowly drip into the soil, keeping roots happy.
- Pro Tip: Use this for thirsty plants like tomatoes or peppers. Adjust the hole size to control the flow.
This little hack keeps my garden hydrated without breaking the bank. It’s one of those gardening tools that’s so simple, you’ll wonder why you didn’t try it sooner.
External Resource: For more on water conservation, visit University of California’s gardening site.
3. Garden Markers from Stones or Wooden Spoons
How Do I Keep Track of What I Planted?
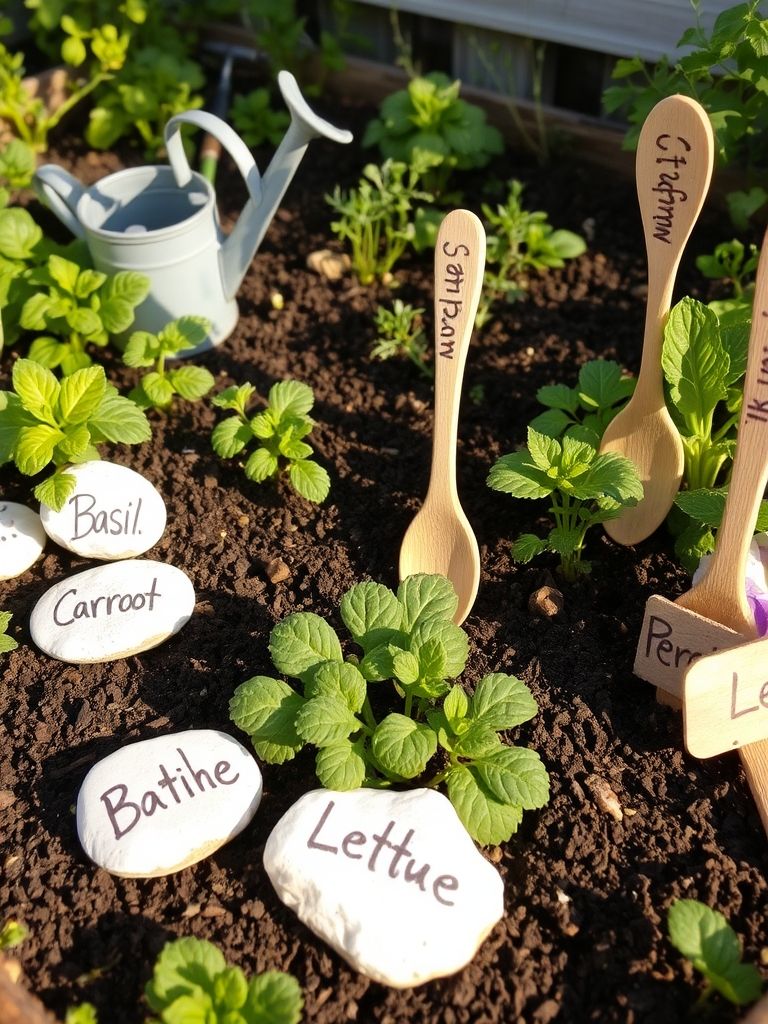
Ever planted a row of seeds and completely forgotten what’s Sonya’d them later? Yep, been there! That’s why I started making my own garden markers using stones or old wooden spoons. They’re cheap, cute, and super helpful.
- Stones: Collect smooth rocks from your yard, paint or write plant names with a permanent marker, and place them by your rows.
- Wooden Spoons: Write the names on the handles with a marker and stick them in the soil.
These markers add a personal touch to my garden and make it easy to remember what’s what. They’re a fun project too—my kids love helping me paint the stones!
External Resource: Get creative inspiration from Purdue University’s gardening tips.
4. Compost Bin from Pallets
How Can I Make Compost Without Spending a Fortune?
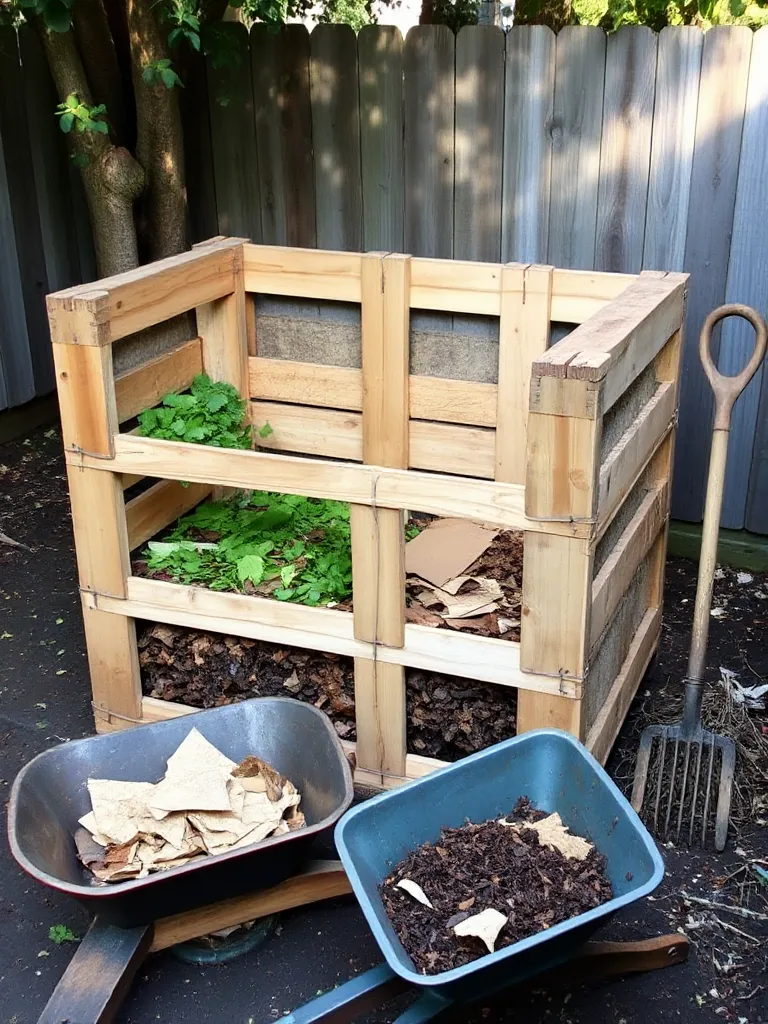
Composting is a game-changer for any garden—it turns kitchen scraps into gold for your plants. Instead of buying a pricey bin, I built my own compost bin from wooden pallets.
- How to Make It: Find four pallets (check local stores—they’re often free!), stand them up in a square, and secure with wire or zip ties. Add a mix of green stuff (like veggie peels) and brown stuff (like dry leaves), and turn it every few weeks.
- Why It’s Great: You’ll have rich compost in a few months, and it’s way cheaper than store-bought bins.
I’ve been composting for years, and my plants have never been happier. Want to dive deeper? See my post on composting basics.
External Resource: Learn composting science from University of Illinois Extension.
5. Trellis from Twigs or Bamboo
How Do I Support Climbing Plants on a Budget?
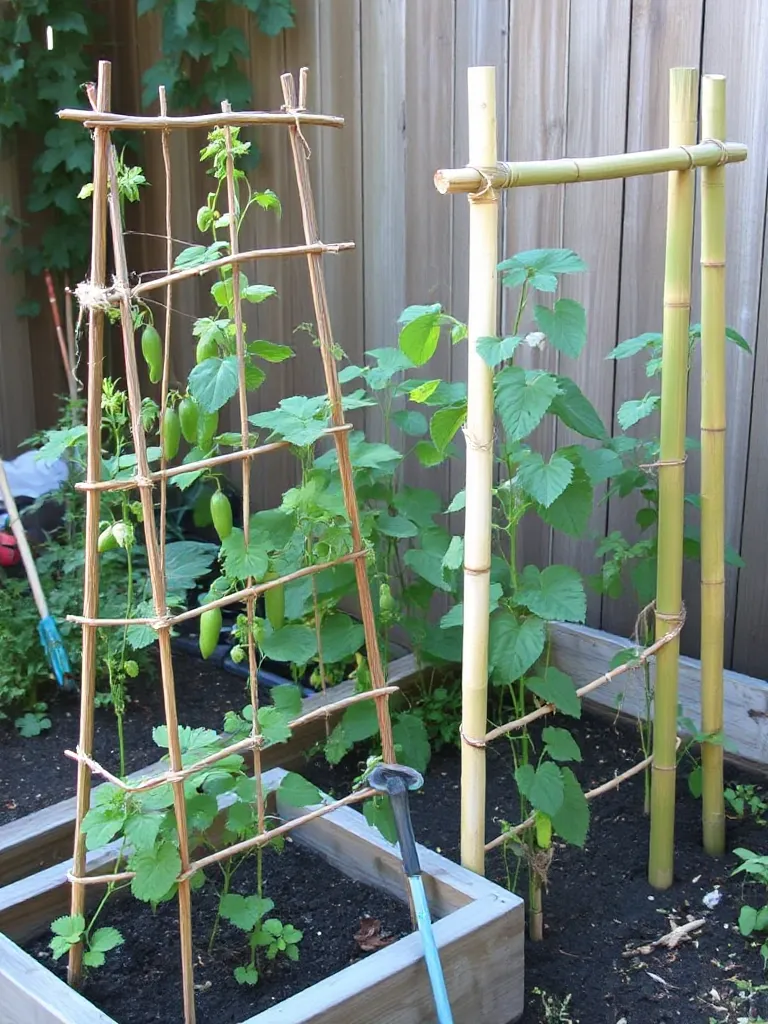
Climbing plants like peas and cucumbers need something to grab onto, and a DIY trellis made from twigs or bamboo is perfect. I’ve made tons of these over the years—they’re sturdy and blend right into the garden.
- Twigs: Gather straight branches, tie them into a grid or teepee shape with twine, and stake them into the ground.
- Bamboo: Use poles (cheap at garden centers) and tie them together similarly.
These trellises are a lifesaver for vertical gardening and cost next to nothing.
External Resource: Explore vertical gardening at Oregon State University’s extension.
6. Hand Trowel from a Milk Jug
What’s a Cheap Alternative to a Trowel?
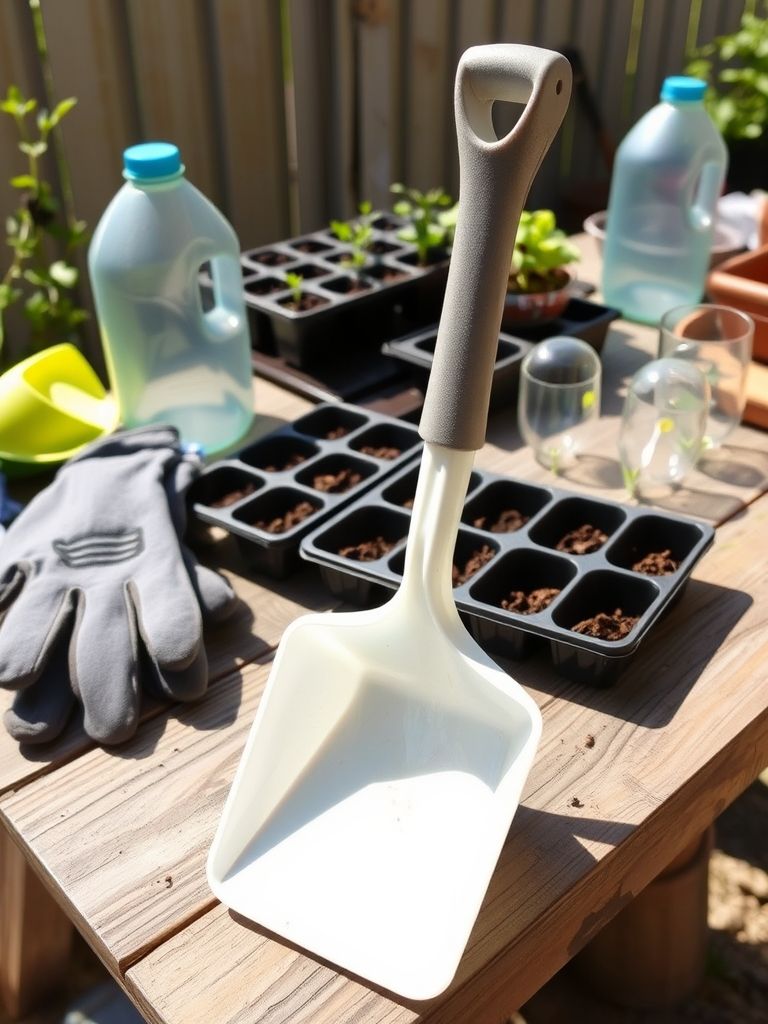
A hand trowel is one of those gardening tools names and uses you’ll see on every gardening tools list, and you can make one from a plastic milk jug. I stumbled on this trick when I couldn’t find my trowel one day.
- How to Make It: Cut the jug at an angle to form a scoop, keeping the handle intact. Use it to dig small holes or scoop soil.
- When to Use It: Great for light tasks like transplanting seedlings.
It’s not as tough as metal, but it gets the job done for free!
7. Weed Barrier from Cardboard
How Do I Stop Weeds Naturally?
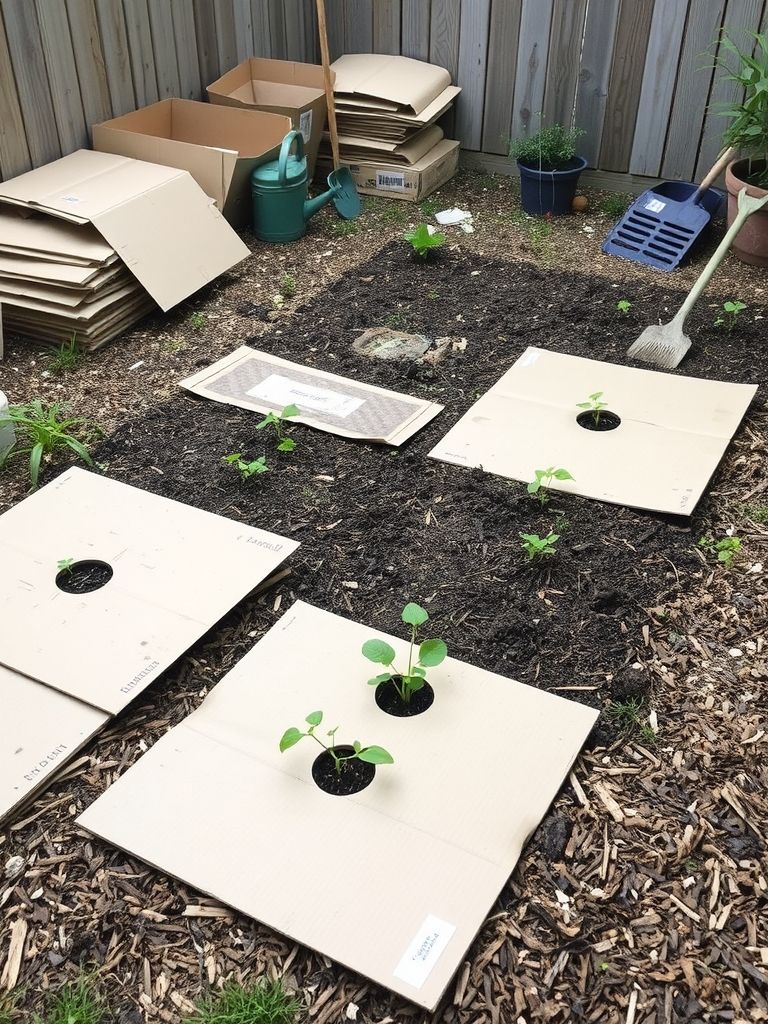
Weeds are the worst, right? I’ve found that a weed barrier made from cardboard is an easy, natural fix. It’s one of my go-to tricks for keeping my beds weed-free.
- How to Make It: Flatten old boxes, remove tape, and lay them over the soil. Wet them down and cover with mulch. The cardboard blocks sunlight and breaks down over time.
- Bonus: It’s chemical-free and good for the earth.
This method has saved me hours of weeding—try it out!
Wrapping It Up
Gardening doesn’t have to drain your wallet. These 7 cheap DIY tools every gardener needs are proof that a little creativity goes a long way. From seedling pots to weed barriers, they’re simple to make, budget-friendly, and just as effective as the 20 garden tools and their uses you might see in stores. I’ve used them all in my own garden, and they’ve made my life so much easier.
So, grab some recyclables, get crafty, and watch your garden thrive. Have a favorite DIY tool of your own? I’d love to hear about it! For more ideas, check out my article on budget gardening hacks. Happy gardening!