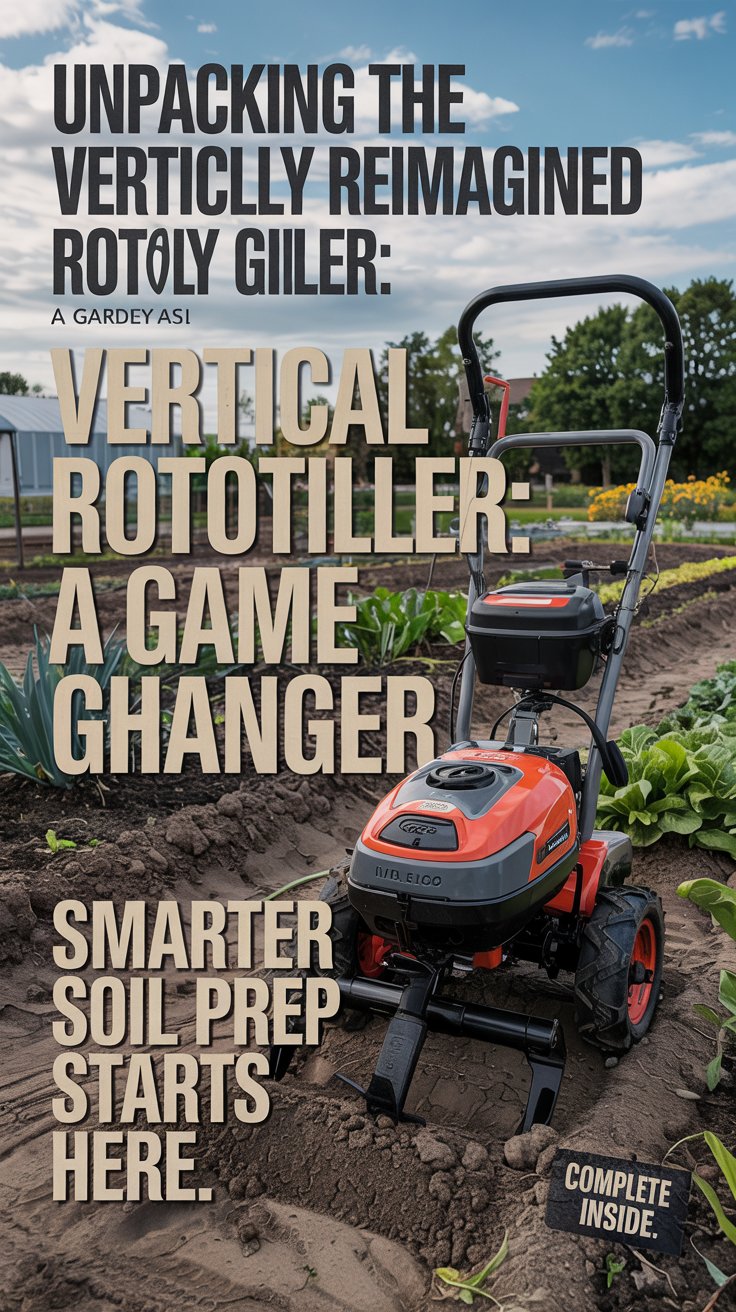
Explore the vertically reimagined rototiller—how it works, its parts, and my review after 10 years of gardening. Transform your soil prep today!
Hi there! I’m Ashley Scott, and with 10 years of gardening experience, I’ve tilled more soil than I can count. Today, I’m thrilled to introduce you to something that’s been turning heads in the gardening world: the vertically reimagined rototiller. If you’ve ever wrestled with a traditional tiller or wondered if there’s a better way to prep your garden, you’re in the right place.
In this article, I’ll break down everything you need to know about the vertically reimagined rototiller—what it is, how to use it, its key parts, and my honest review after putting it to the test. This isn’t just a tool; it’s a game-changer for gardeners like us. So, let’s dig in!
What Makes the Vertically Reimagined Rototiller Special?
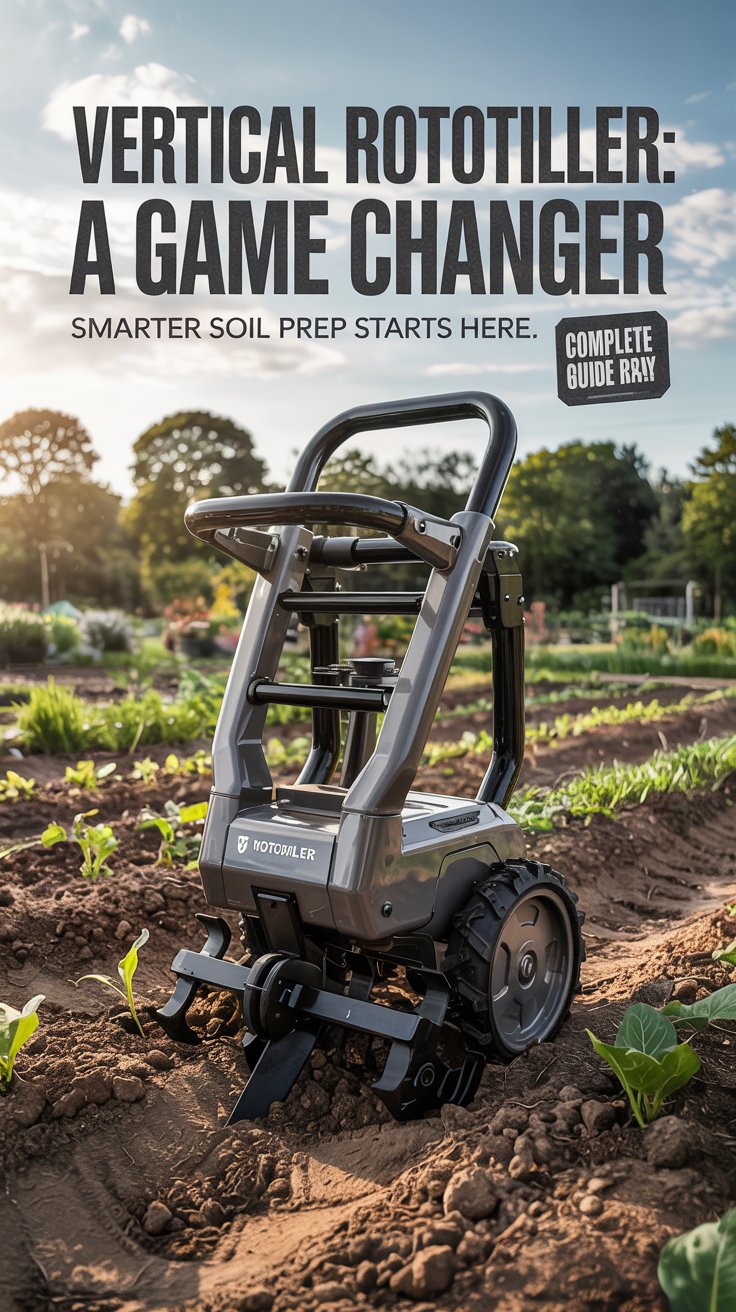
First things first: what’s a rototiller, and how is this vertical version different? A rototiller is a must-have tool for breaking up soil, aerating it, and getting it ready for planting. Traditional rototillers use horizontal tines that churn the ground as you move the machine forward. The vertically reimagined rototiller, though, flips the script with tines that stand upright, cutting into the soil like a kitchen mixer.
This design isn’t entirely new—it’s inspired by vintage farming tools—but it’s been updated with modern tech to make gardening easier. The vertical tines slice through dirt more smoothly, cutting down on the bouncing and jerking I’ve battled with older models. Plus, it’s kinder to my back, which is a big win after a long day in the garden.
Curious if it’s worth the switch? Keep reading—I’ll share my experience and more.
How to Use the Vertically Reimagined Rototiller
One of the best things about the vertically reimagined rototiller is how user-friendly it is. I remember my first time with a traditional tiller—my arms ached, and the machine seemed to have a mind of its own. This vertical design? It’s a different story. Here’s how to use it, step by step:
Step 1: Clear the Ground
Start by removing rocks, sticks, or anything else that could snag the tines. If you’re tilling a grassy spot, a sod cutter can help strip the turf first. The soil should be damp but not soggy—think of it like the perfect texture for a mud pie.
Step 2: Set the Depth
Most models let you adjust how deep the tines go. For breaking new ground, I set mine to 5-6 inches. In my established beds, I go shallower to avoid messing with plant roots.
Step 3: Get Tilling
Fire up the tiller and guide it slowly across your plot. The vertical tines make it feel almost effortless—no more fighting the machine! It glides through even my clay-heavy soil without a hitch.
Step 4: Overlap Your Rows
To avoid patchy spots, overlap each pass by a few inches. This ensures the soil is evenly tilled and ready for planting.
Step 5: Mix in Nutrients
After the first round, I sprinkle compost or fertilizer over the soil. A second pass blends it in, giving my plants a healthy start. It’s like giving your garden a gourmet meal!
Step 6: Finish Up
Grab a rake to level things out, and you’re set to plant. If you’re not planting right away, mulch the area to keep weeds at bay.
Want more soil prep tips? Check out my guide on Prepping Your Garden Soil.
Key Parts of the Vertically Reimagined Rototiller
Knowing your tiller’s parts can make maintenance a breeze and help you fix small issues on the fly. Here’s what makes up the vertically reimagined rototiller:
1. Vertical Tines
The star of the show! These upright tines cut downward into the soil, making tilling smoother and less taxing. They’re why I don’t dread tilling day anymore.
2. Engine
Most models run on gas, though electric options exist for smaller spaces. The engine powers those tines through even the toughest dirt.
3. Depth Bar
This handy feature lets you control how deep you till. It’s adjustable, so I can switch between shallow weeding and deep soil prep without breaking a sweat.
4. Wheels
The wheels keep the tiller steady and mobile. Some even adjust for different terrains—super helpful on my uneven backyard.
5. Handlebars
Comfortable grips and easy controls make steering a cinch. Everything I need is right at my fingertips.
For a deeper dive into tiller care, I love this guide from Gardening Know How.
My Review of the Vertically Reimagined Rototiller
Alright, let’s get to the good stuff—my take on the vertically reimagined rototiller. I’ve been using it for weeks now, and I’m hooked. Here’s the scoop:
What I Love
- Smooth Operation: No more jarring bounces—it’s like the tines dance through the soil.
- Time-Saver: I tilled my entire veggie patch in half the time it used to take.
- Comfort: My back and shoulders thank me every time I use it.
- Sturdy Build: It feels solid and built to last through many seasons.
What’s Tricky
- Cost: It’s pricier than basic tillers, but for me, the ease and efficiency justify it.
- Adjustment Period: It took me a couple of tries to get the feel right, especially after years with horizontal tines.
My verdict? If you garden regularly or have tough soil, this tiller is a dream. It’s transformed how I prep my beds, and I’m already looking forward to next season.
Why Pick This Over a Traditional Rototiller?
Still wondering if the vertically reimagined rototiller beats the classic? Here’s why I think it does:
- Less Effort: The vertical tines tame the wild hopping of traditional models.
- Speed: It covers ground faster, leaving me more time to plant and enjoy my garden.
- Soil Health: Experts say vertical tilling might preserve soil structure better—check out this University of Illinois Extension piece for more.
I rented one before buying, and that sealed the deal. Many hardware stores offer rentals—give it a whirl!
Maintenance Tips to Keep It Running
A little TLC goes a long way with any tool. Here’s how I keep my tiller in tip-top shape:
- Clean It Up: After each use, I brush off dirt from the tines and engine.
- Oil Check: For gas models, I keep an eye on the oil and change it as needed.
- Sharpen Tines: Dull tines slow you down—sharpen them every season or so.
- Store Smart: Mine lives in my shed, safe from rain and rust.
Need more maintenance know-how? The Spruce has a great rundown.
Final Thoughts: A Gardener’s Must-Have?
After testing the vertically reimagined rototiller, I’m sold. It’s made soil prep faster, easier, and honestly more fun. Whether you’re starting a new garden or tending an old one, this tool could be your new best friend.
Ready to revolutionize your gardening? I say go for it. And if you want more tips or tool ideas, swing by USA Garden Hub—I’m sharing all my tricks from a decade in the dirt!